Who can complete this task?
- Administrators and Site Staff with the Financial Management Extended Permission
The Chargemaster serves as your site’s central fee schedule and master catalog of billable items, procedures, and routine costs. Establishing your Chargemaster allows you to standardize billing codes across studies, streamline Coverage Analysis, and ensure accurate invoicing.
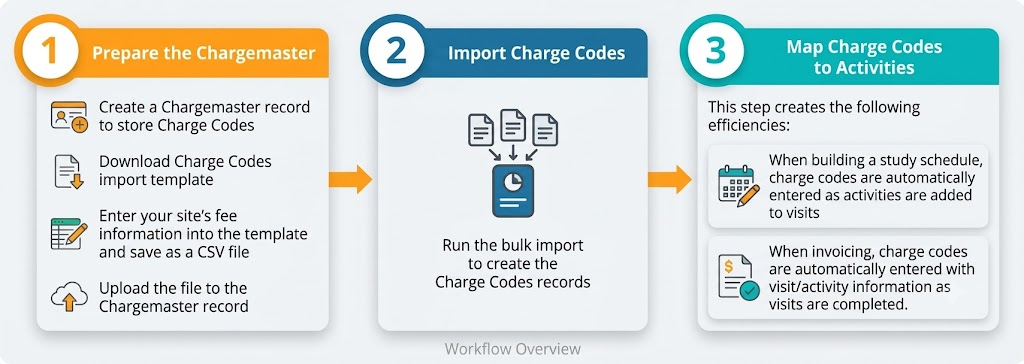
Step 1: Create the Chargemaster Record and Prepare the Import Template
- Navigate to Finance > Chargemaster.
- Select + Create to create a new Chargemaster or if already created, select the Chargemaster record to update.
- Select and download the Charge Code Bulk Import Template from the Charge Code Bulk Import Instructions section (or from this step). This is a CSV file and must be uploaded to SiteVault as a CSV file.
- Open the file and enter your site’s billing codes and procedure details. Complete the required and any optional fields. The column headers (listed here) represent the fields of the Charge Code records you’re creating.
- Charge Code (name__v): The main identifier for the charge. Required field.
- Price/Default Cost/Fee (price__v): The price (up to 2 decimal places) for the service or procedure under this specific Chargemaster. Required field.
- Short Name (short_name__v): A short name to identify the charge. (50 characters)
- Description (description__v): A detailed description of the activity or service. (250 characters).
- CPT/HCPCS Codes (cpt_hcpcs_codes__v): The Current Procedural Terminology code or Healthcare Common Procedure Coding System code to which the charge maps. (100 characters)
- Modifier (modifier__v): A code appended to the primary charge code to provide additional specific information about the service or procedure. (50 characters)
- Save the completed template to your computer as a CSV (Comma Delimited) file.
- CSV files remove all formatting which allows SiteVault to cleanly translate your entered data into the fields of the Charge Code records.
- In the Charge Code Bulk Import File field, upload or drag and drop the completed CSV file.
- Select Save. The Chargemaster remains in the Draft state. Charge Code records are not yet created.
Step 2: Run the Bulk Import Action
- Navigate to Finance > Chargemaster.
- Select the Chargemaster to update.
- Select All Actions > Bulk Import Charge Codes.
- Review the import impact message. Select Continue. In most cases, the process is 30 seconds or less.
- A notification will advise when the process is complete as well as success/failure details.
- If an error is found:
- The entire import is aborted.
- You will receive the error location and a description of the error so corrections can be made.
- When all errors are corrected, attempt the import again.
- Successful imports will:
- Create the Charge Code records
- Move the Chargemaster record to the Current state
Step 3: Map Charge Codes to Activities
Once your Chargemaster is populated, you can map individual Charge Codes to Activity Templates. Associating charge codes with Activity Templates ensures that whenever an activity is added to a schedule, SiteVault automatically maps the correct financial and billing attributes to that activity.
For ease of use, there are several places to make these associations (see below); all options include the ability to search and select.
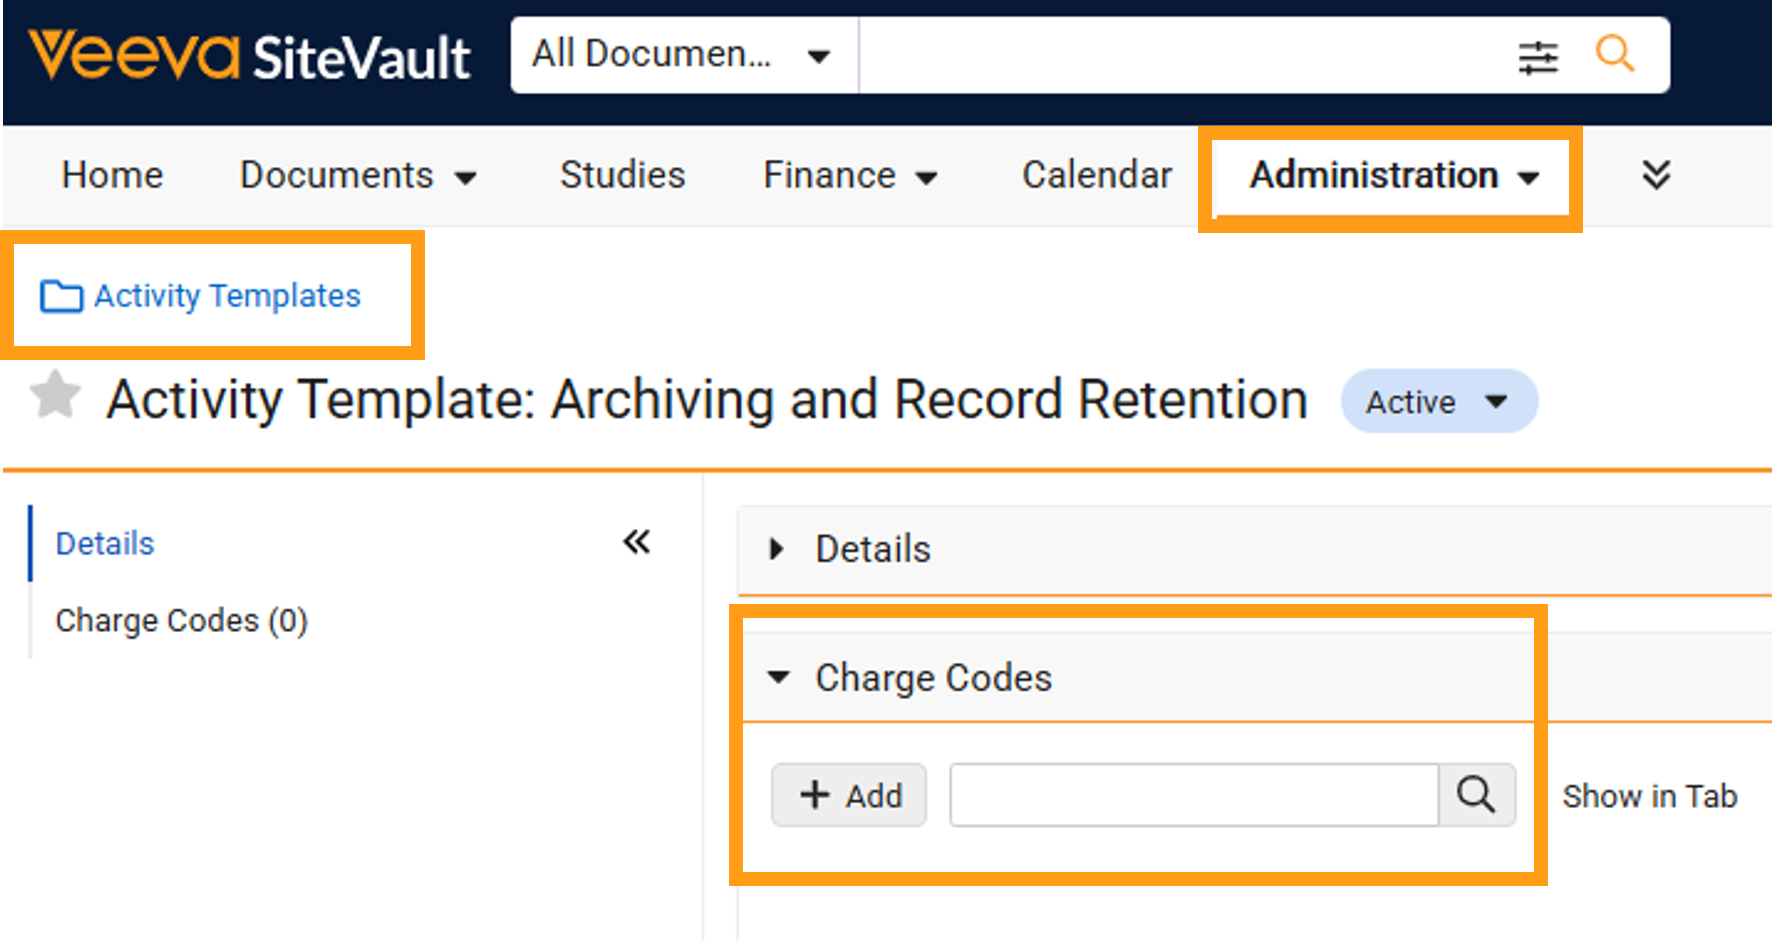
Administration > Activity Templates
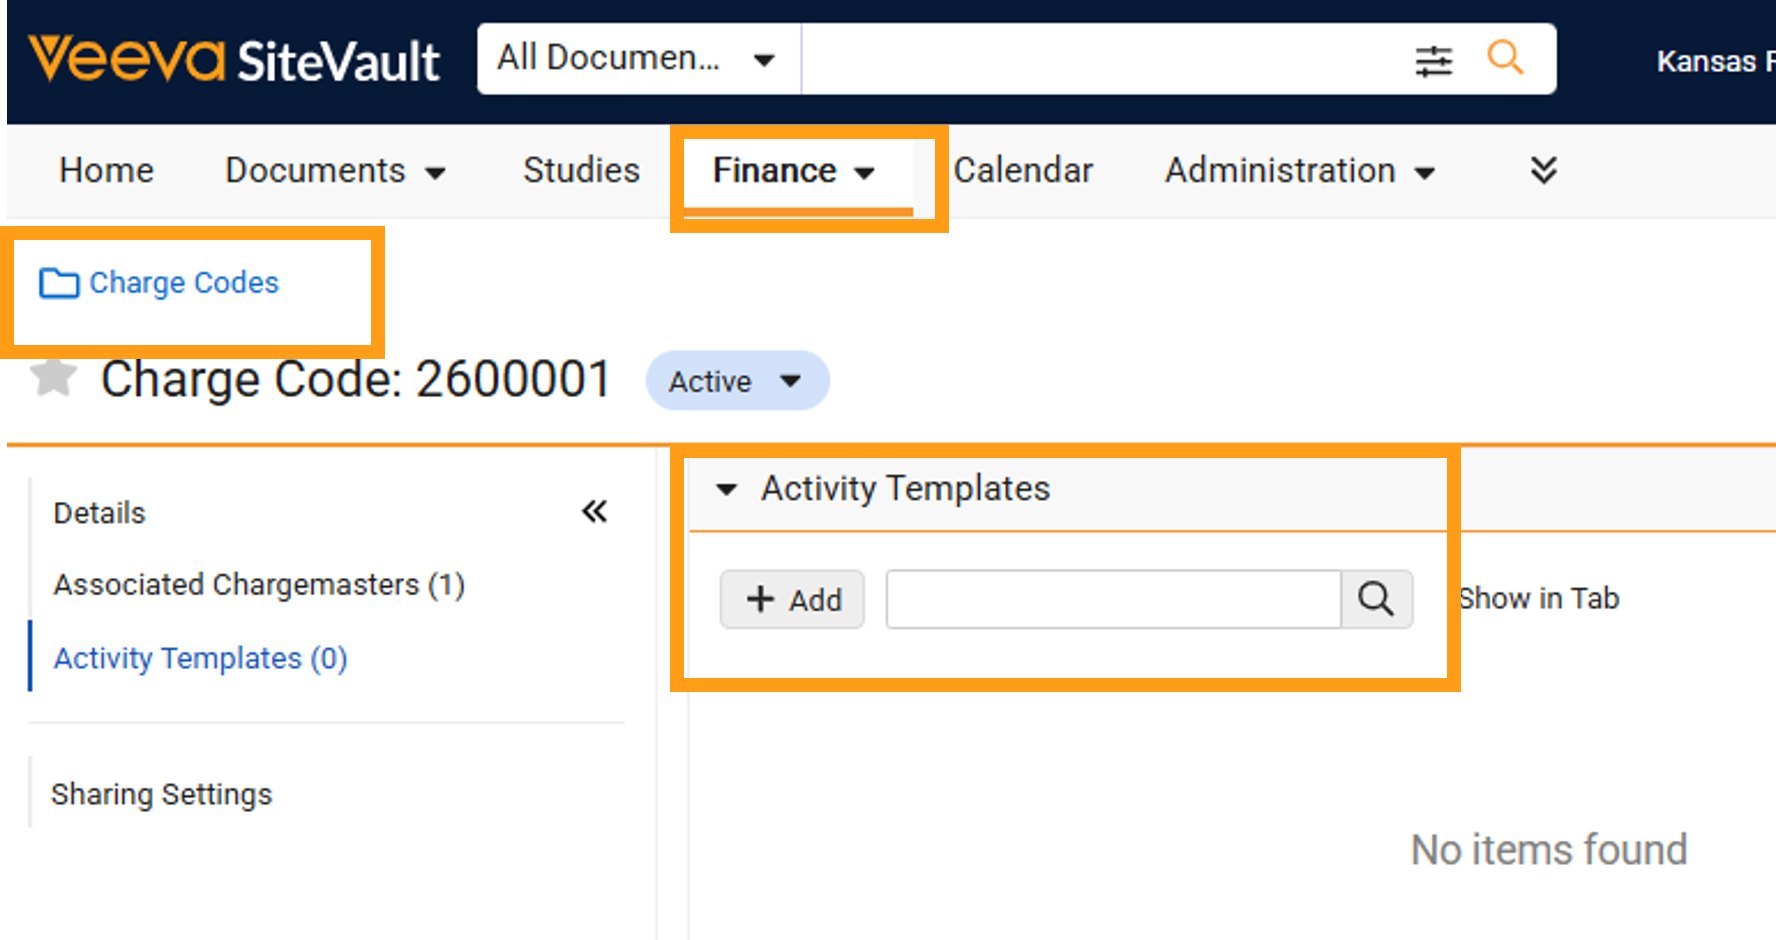
Finance > Charge Codes
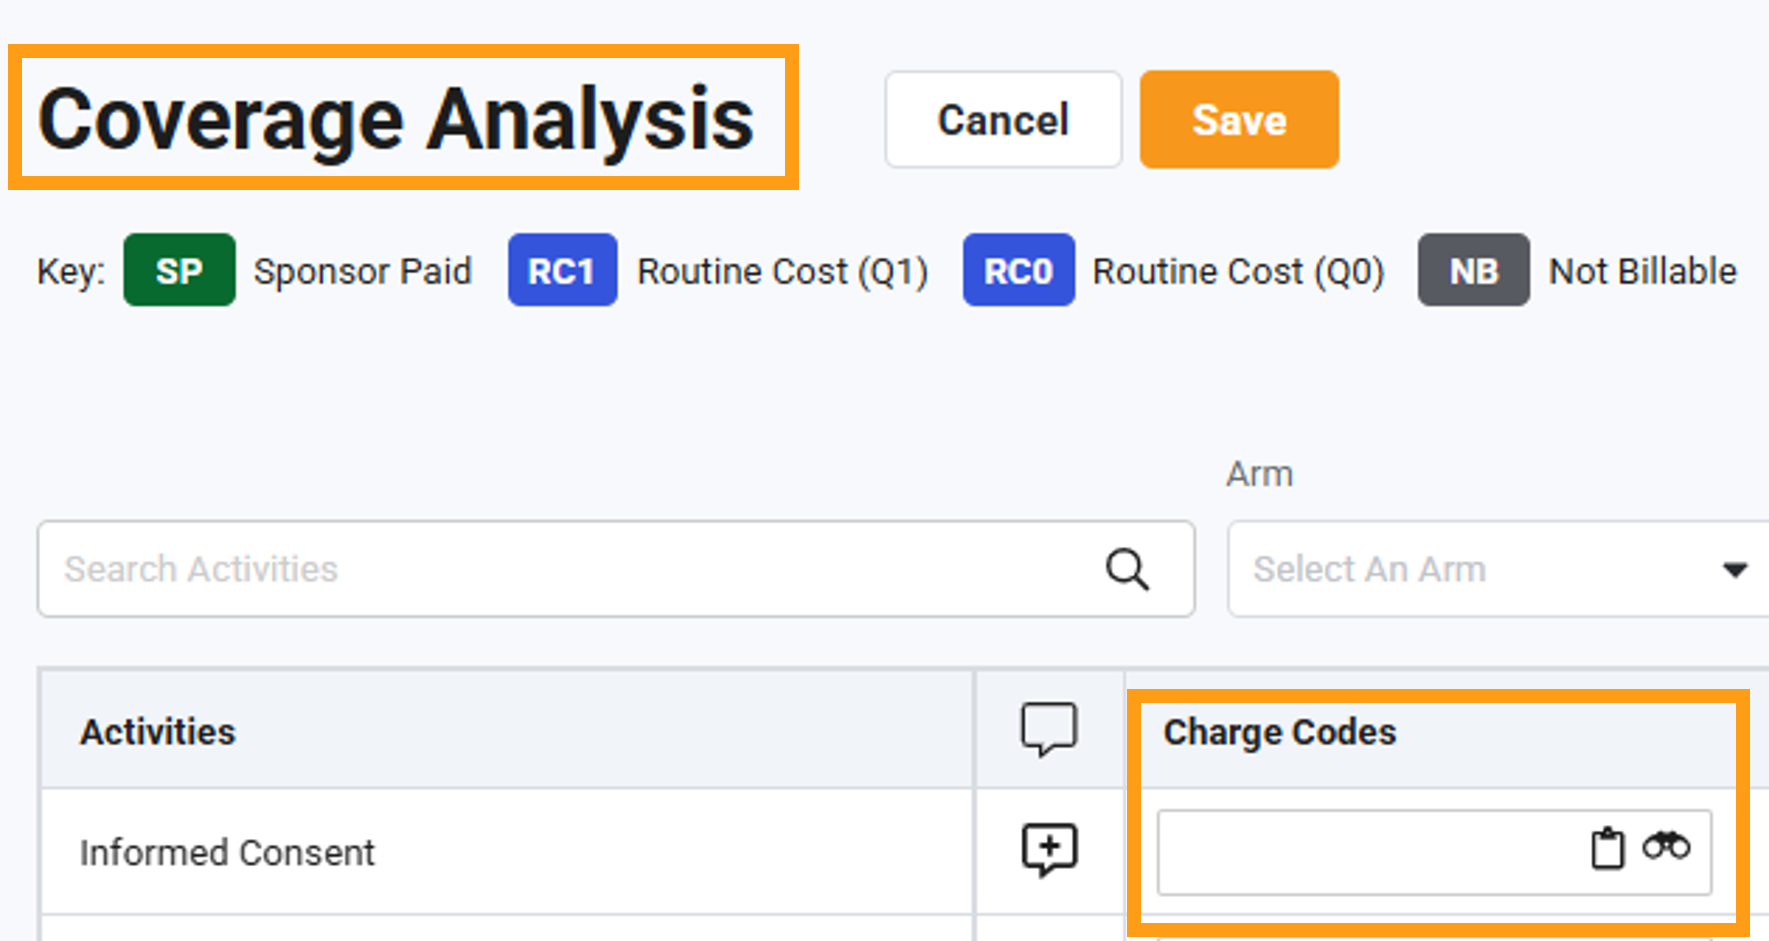
Study Schedule > Coverage Analysis