Creating a Participant
Note Personal Identifiable Information (PII) is never shared with the sponsor, and if your site is in a location where the study sponsor has prevented you from collecting PII, then the fields requesting PII are not displayed or required.
Video Overview
Step-by-Step Instructions
- Ensure that you are in the study you want to add the participant to, and in the Participants tab, select Add Participant.
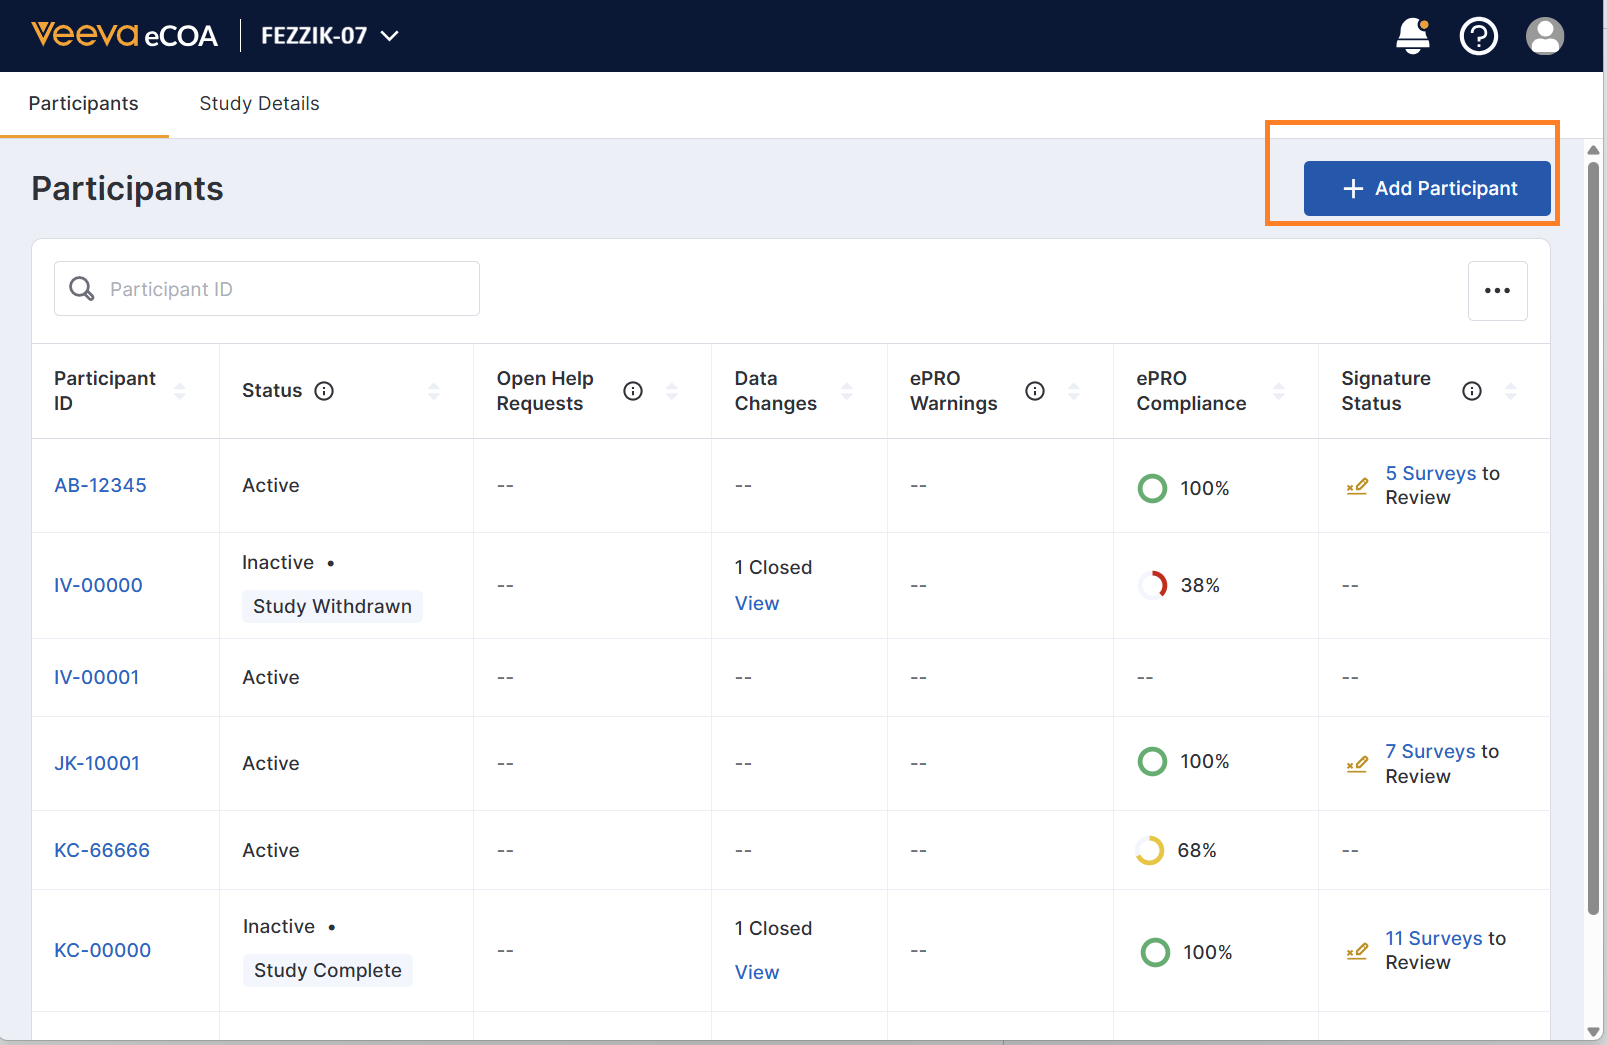
- If a SiteVault connection exists, you can select their participant from the list and select Next. If no participants are displayed, select the Add New Participant link under the list.
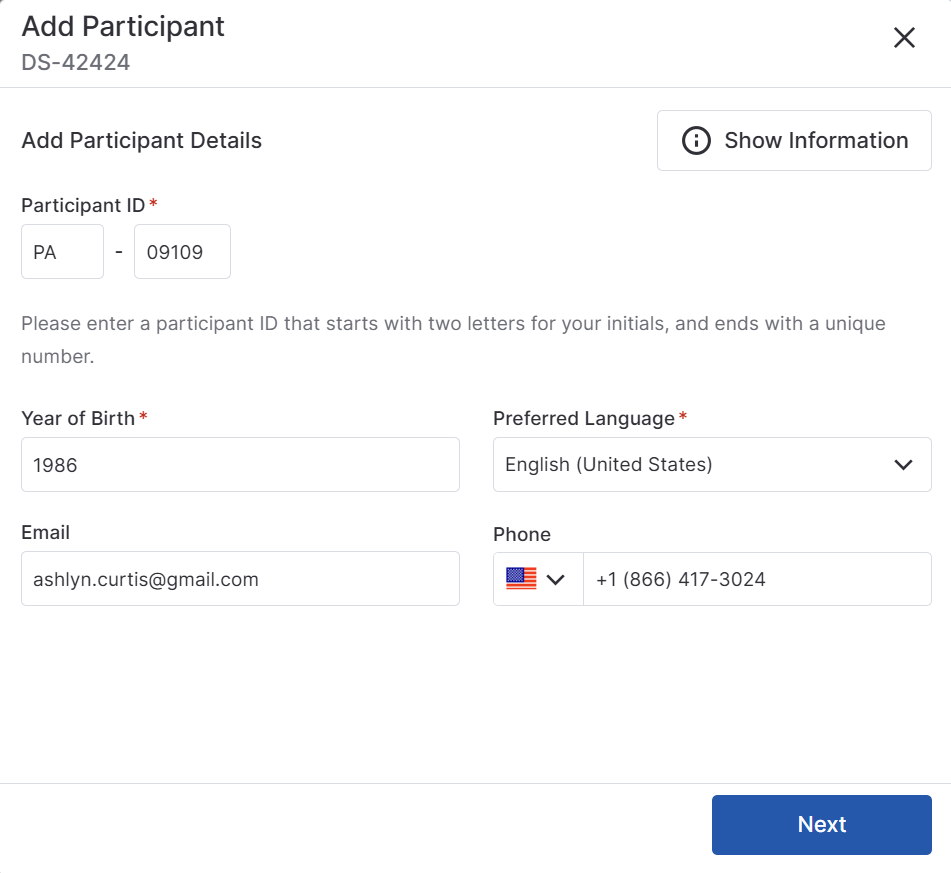
- Enter or review the participant’s information, and select Next. To streamline the sign-up process for participants, Veeva recommends adding an email and phone number.
Note
- If the study sponsor has configured a required Participant ID format, the system will enforce the format.
- A Temporary Screening ID is displayed instead of a Participant ID if your study is configured to require one.
- If necessary, select group information. Group types may need to be manually entered or they may be populated by the system, depending on study configuration.
- If necessary, add caregiver information for the participant, and select Add Caregiver.
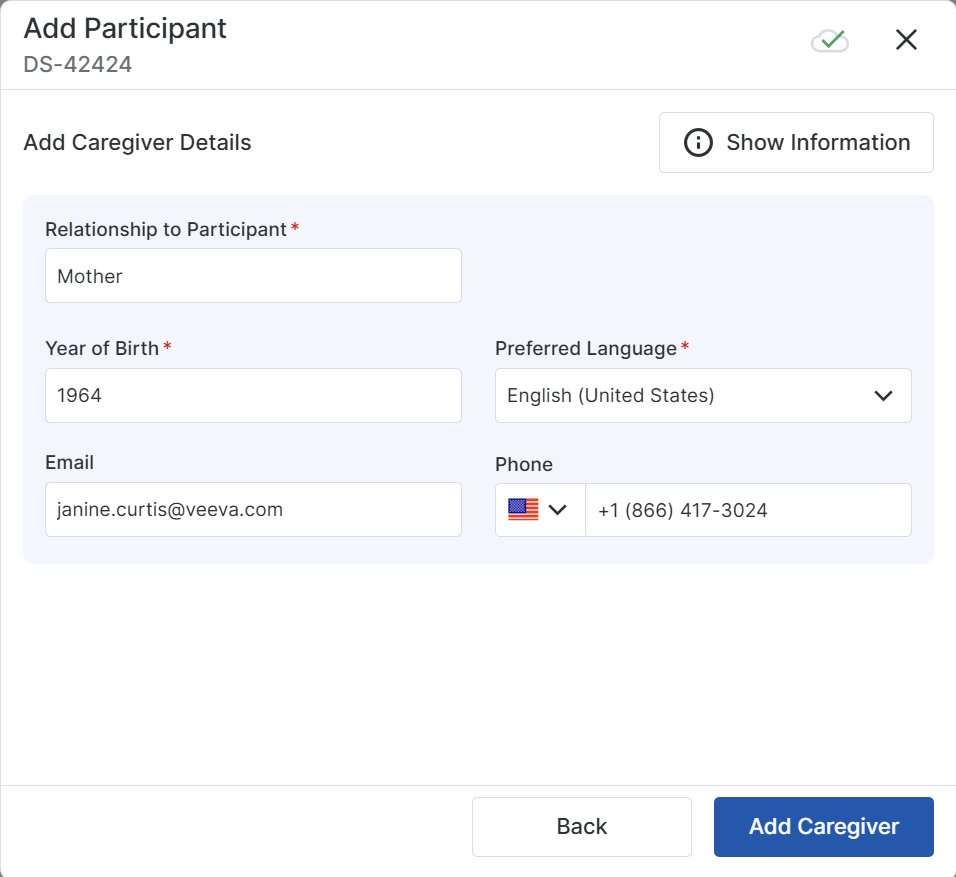
Tip If the participant has more than one caregiver, you can select Add New Caregiver and add information for them. You can assign up to five active caregivers for each participant.
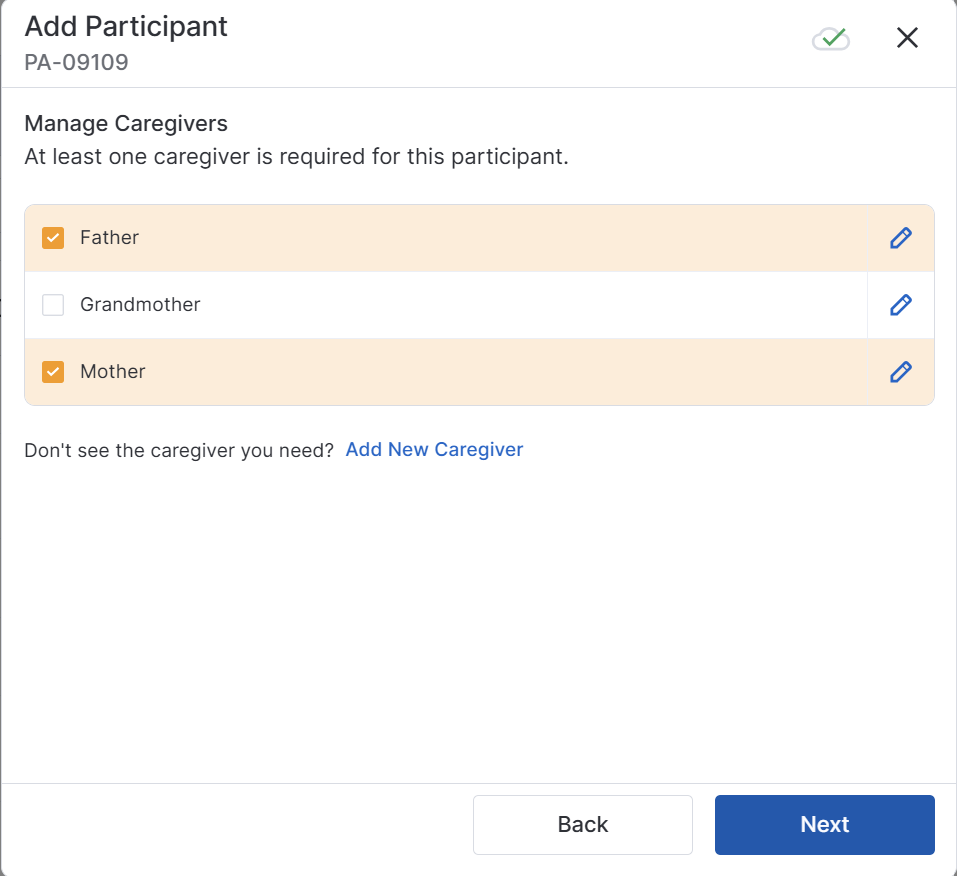
- Select all active caregivers, and select Next.
- Review the participant information to make sure everything is correct, and select Confirm.
Note The status on the participant list is not updated until you refresh the page.
- Select Close.
Generating an Activation Code
If the participant or caregiver is not able to register with the code that was provided, you can generate a new code. You can also generate this code to allow a participant to reset their login information.
Video Overview
Step-by-Step Instructions
- In the Participants tab, select a participant’s ID.
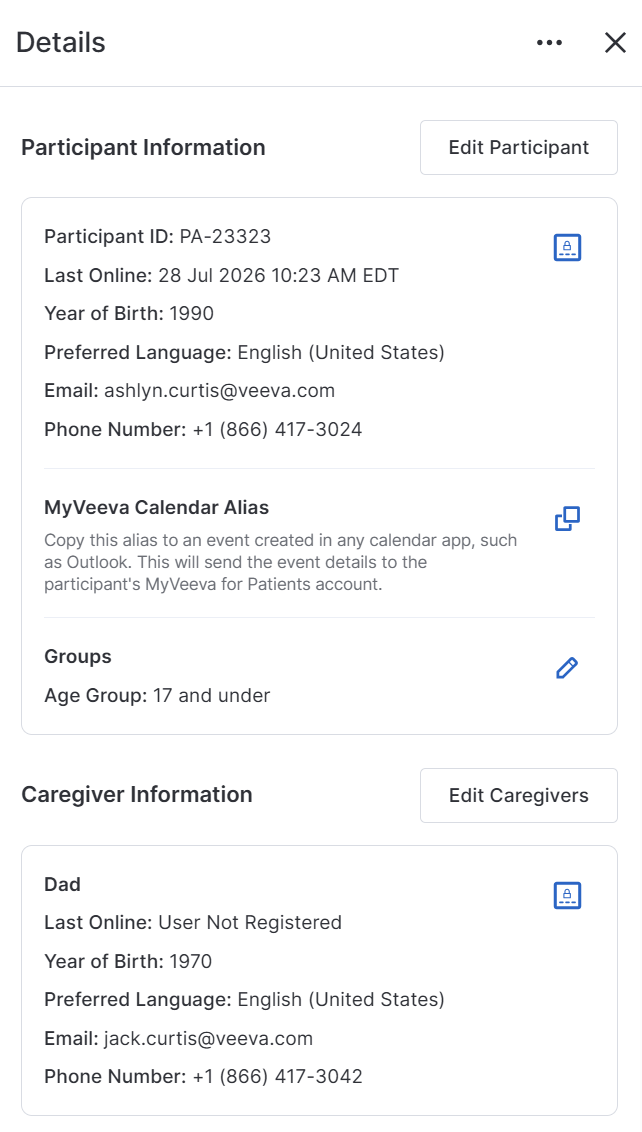
- Select View Participant Details, and select the Get Activation Code icon
 next to the person you want to generate a code for.
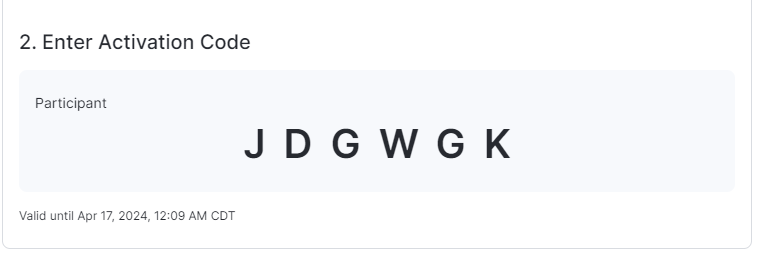
- Direct the user to enter the activation code in MyVeeva for Patients. The activation code expires thirty days after you generate it.
Related Resources
Resource in Participant Help