You can import content into the Custom eConsent Builder to overwrite all content of a previously-uploaded document using the following methods:
SiteVault Import Code
Import an eConsent form into the Builder from your SiteVault or someone else’s using a code copied in the participant preview. To share a code, see Preview and Share an eConsent
eForm rendition (JSON)
Import the JSON file (10 MB maximum) of an eConsent form into the Builder. If you’re creating a copy of a document in your own Vault, we recommend that you copy the document in SiteVault instead. If you don’t already have the .JSON file or haven’t sent it to the recipient, select Veeva eForm from the document’s download options.
Microsoft Word DOCX
You can collaborate on an ICF with an EC or IRB in Microsoft Word and when finished, import the revisions into SiteVault to overwrite the last version. Use the Builder to create and insert the consent components into the content, and then send for an additional review (if necessary). If after collaborating, the final ICF is in PDF format, select the Simple PDF-based eConsent type (recommended) when adding the consent form to the study rather than importing and using the Builder.
NOTE: Before uploading in Word format, ensure that the Simple PDF-based eConsent approach isn’t the one for you. Approved consent forms in PDF format can be digitized for signature and question response without modifying the content by using SiteVault’s PDF-Based eConsent Editor.
Reverting Imported Edits
If you accidentally upload content and overwrite text you want to keep, select Undo Changes in the message at the top of the page to restore the previous content. This option is available while you modify content, but if you select any of the check boxes, options, or settings in the sidebar, the message closes and you can no longer undo the changes.
Step One: Create a document to overwrite
- Create a new blank ICF or a new draft of an existing blank ICF.
- Ensure you’ve selected Yes in the Veeva eConsent field unless the document is intended for paper consenting only.
Step Two: Import the content
- From the document created in the last step, select Edit from the Actions menu to launch the Custom eConsent Builder.
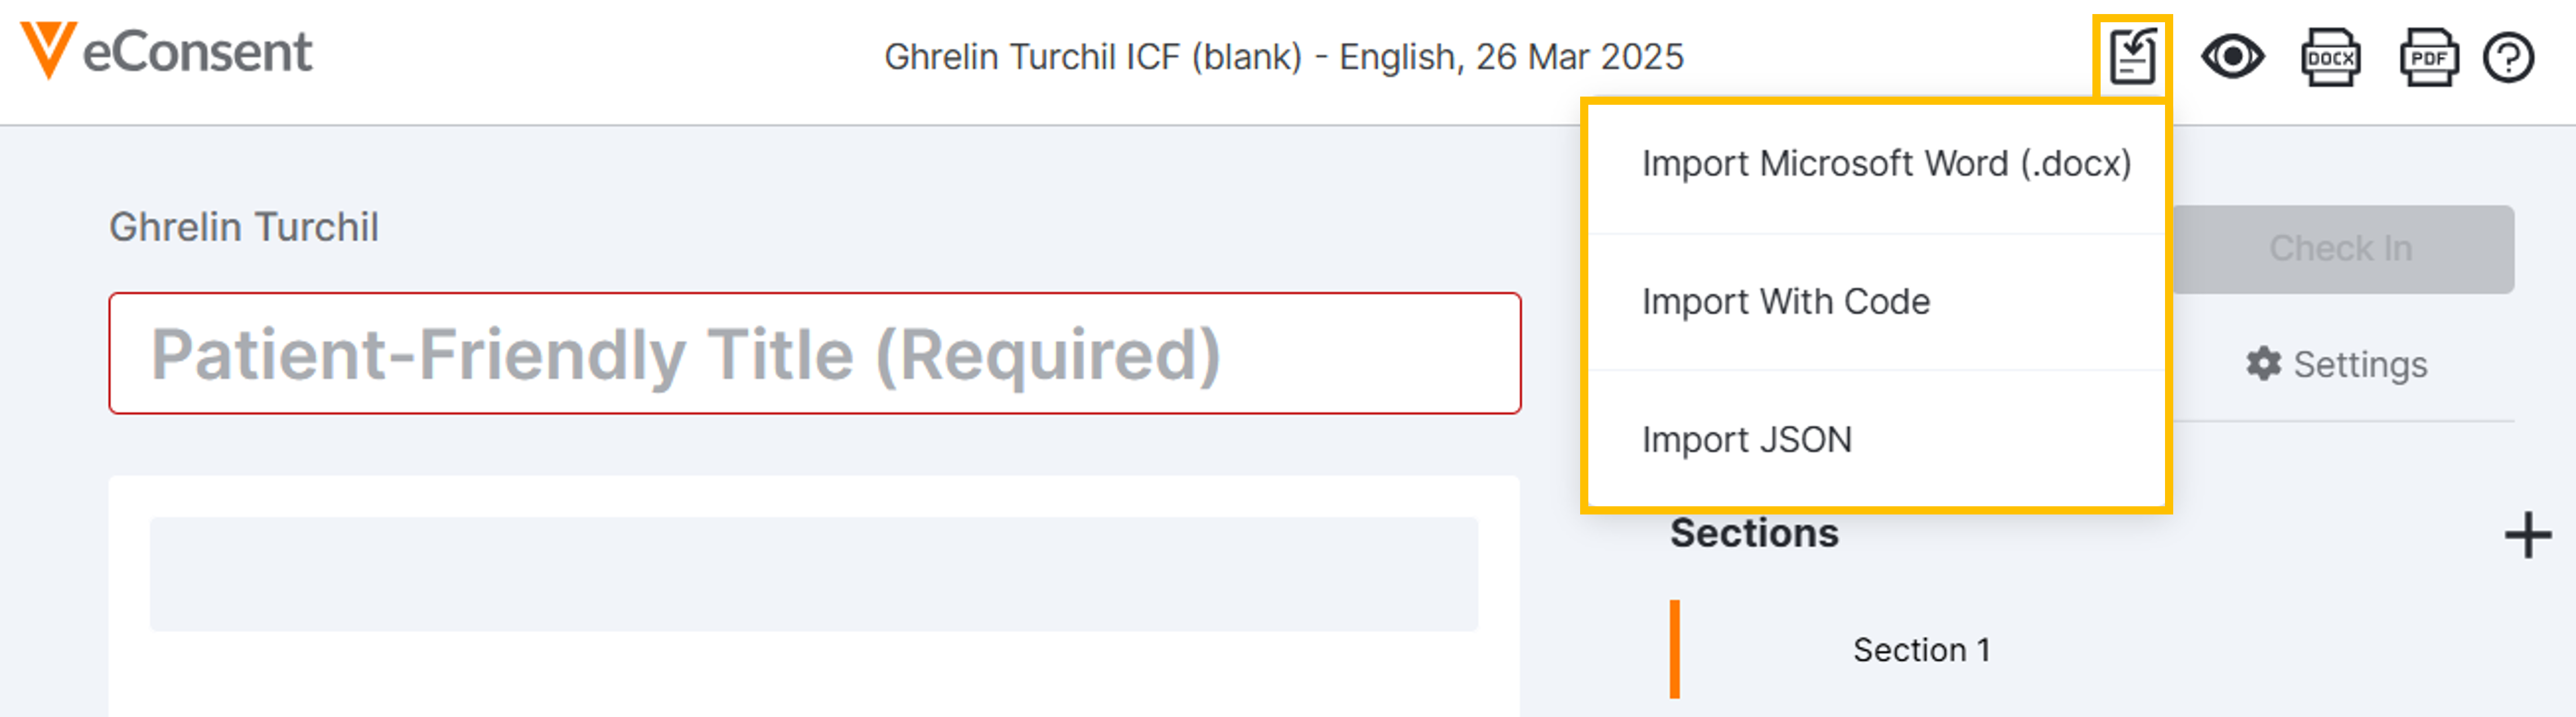
- Select the Import icon in the upper-right corner of the editor.
- Select one of the following options:
- Import with Code
- Import JSON
- Import Microsoft Word (.docx) NOTE: Before uploading a Word document, read the Word Document Formatting Requirements section below.
- Follow the onscreen instructions to enter the code or upload the document.
- Select Import Document. All existing content is replaced with the imported content.
- Review the content.
- Select Save. This creates a version that represents the original imported content.
Step Three: Edit Form Sections, Headers, and Questions
See Edit DOCX (Word) form - build questions, signatures, etc. to edit the form.
Step Four: Approve an eConsent for Use
See Approve an eConsent Form for Use.
Word Document Formatting Requirements
Before you import a Word document, read the following requirements:
| Item | Requirement Description |
|---|---|
| Styles | For a successful import, **you must add styles to your Word document before uploading** to place content accurately. Complete the following steps in Microsoft Word:
|
| Images and Videos |
|
| Tables |
|
| Tracked Changes | Before importing, accept or reject tracked changes, otherwise edits and original text are both added as text in the document. |
| Unsupported Items | The items below are not supported. Remove them from your document before uploading for the best upload experience.
|