SiteVault offers several reporting tools to provide an overview of your documents and monitoring activities. While you can access the reports individually, the dashboard provides a comprehensive look at the most requested data.
Monitor Review Dashboard for Sites
This dashboard is a convenient tool that gathers the most requested monitoring data into one view. Each tile represents an individual report or data point. Select the data or image in a tile to access the individual report providing the overview. This dashboard is a standard dashboard and cannot be edited. However, you can make a copy of the dashboard (All Actions menu > Copy Record) and edit it to your preferences.
- Navigate to Reporting > Dashboard.
- Select Monitor Review Dashboard for Sites.
- Select and apply a study filter (required upon first access, edit as needed).
- Select the data or image in a tile to access the report providing the overview (available for most tiles).
Standard Monitoring Reports
SiteVault offers preset standard reports with data and tools often requested to assist sites with the monitoring process. Standard reports cannot be edited. However, you can make a copy of a report (All Actions menu > Copy Record) and edit it to your preferences.
- Navigate to Reporting > Reports.
- Expand the Report Type Filter to select applicable reports. Once selected, consider saving the view (select Save View As) for future quick access to your preferred list of monitoring reports.
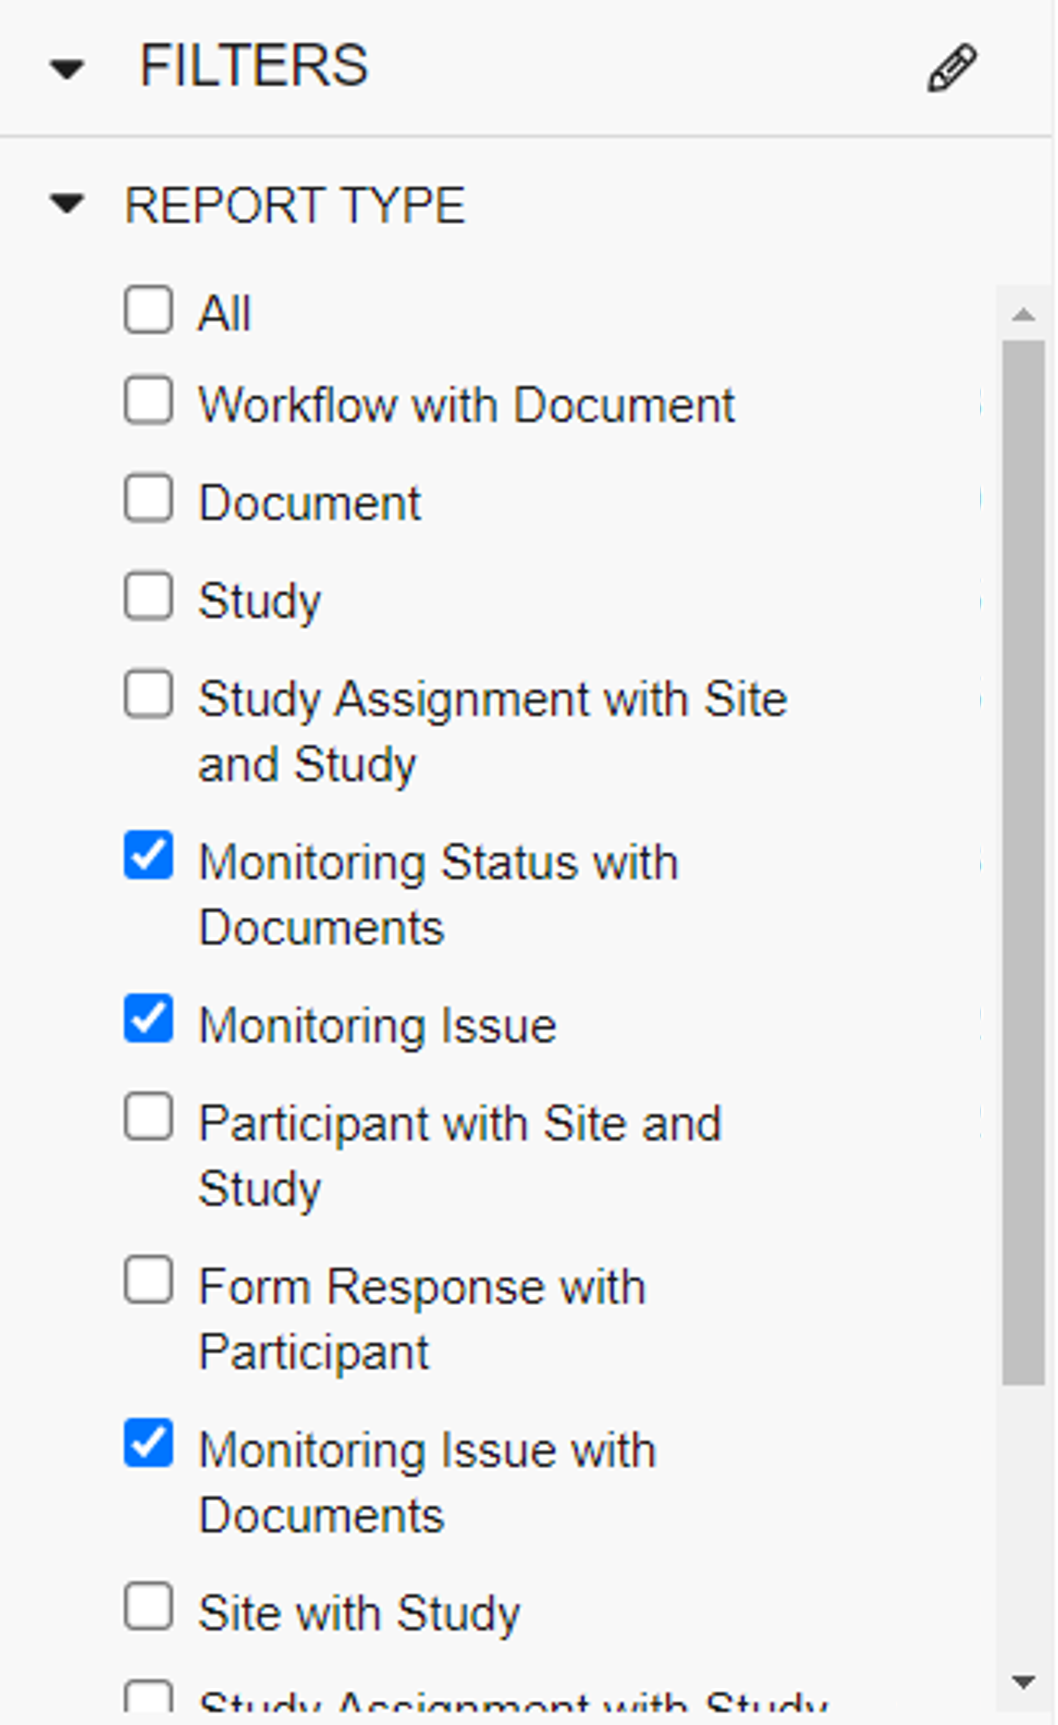
- Select a report to view the data.
Create a Report
You can create your own SiteVault report, tailored to your preferences.
- Navigate to Reporting > Reports.
- Select the + Create button in the top right.
- Select + Report.
- Select the report type. This will determine the data available to you on the next page.
- If requested, complete any required fields.
- Provide a name for the report. If you skip this step, you can enter these details when saving the report.
- Optionally, provide a description of the report.
- Select the preferred format.
- Select Continue.
- Optionally, create any preferred formula fields.
- Optionally, create any preferred conditional fields.
- Optionally, complete any preferred filter details.
- Review Advanced Options for any applicable tools/settings.
- Select Run to run the report.
- If you are satisfied with the report settings or want to return to it later, select Save.