Overview
The MyVeeva for Patients user can register for a new account by using an activation code provided by their study team.
Registering Using an Activation Code
The user completes the steps below.
| Step | Task | Example Image (Select an Image to Enlarge) |
|---|---|---|
| 1 (Recommended) | If your study team gives you a QR code, open your device’s camera app, use the camera to view the QR Code, and select the link that is displayed by the code. You can open the the App Store or Google Play Store to download the MyVeeva for Patients app. |
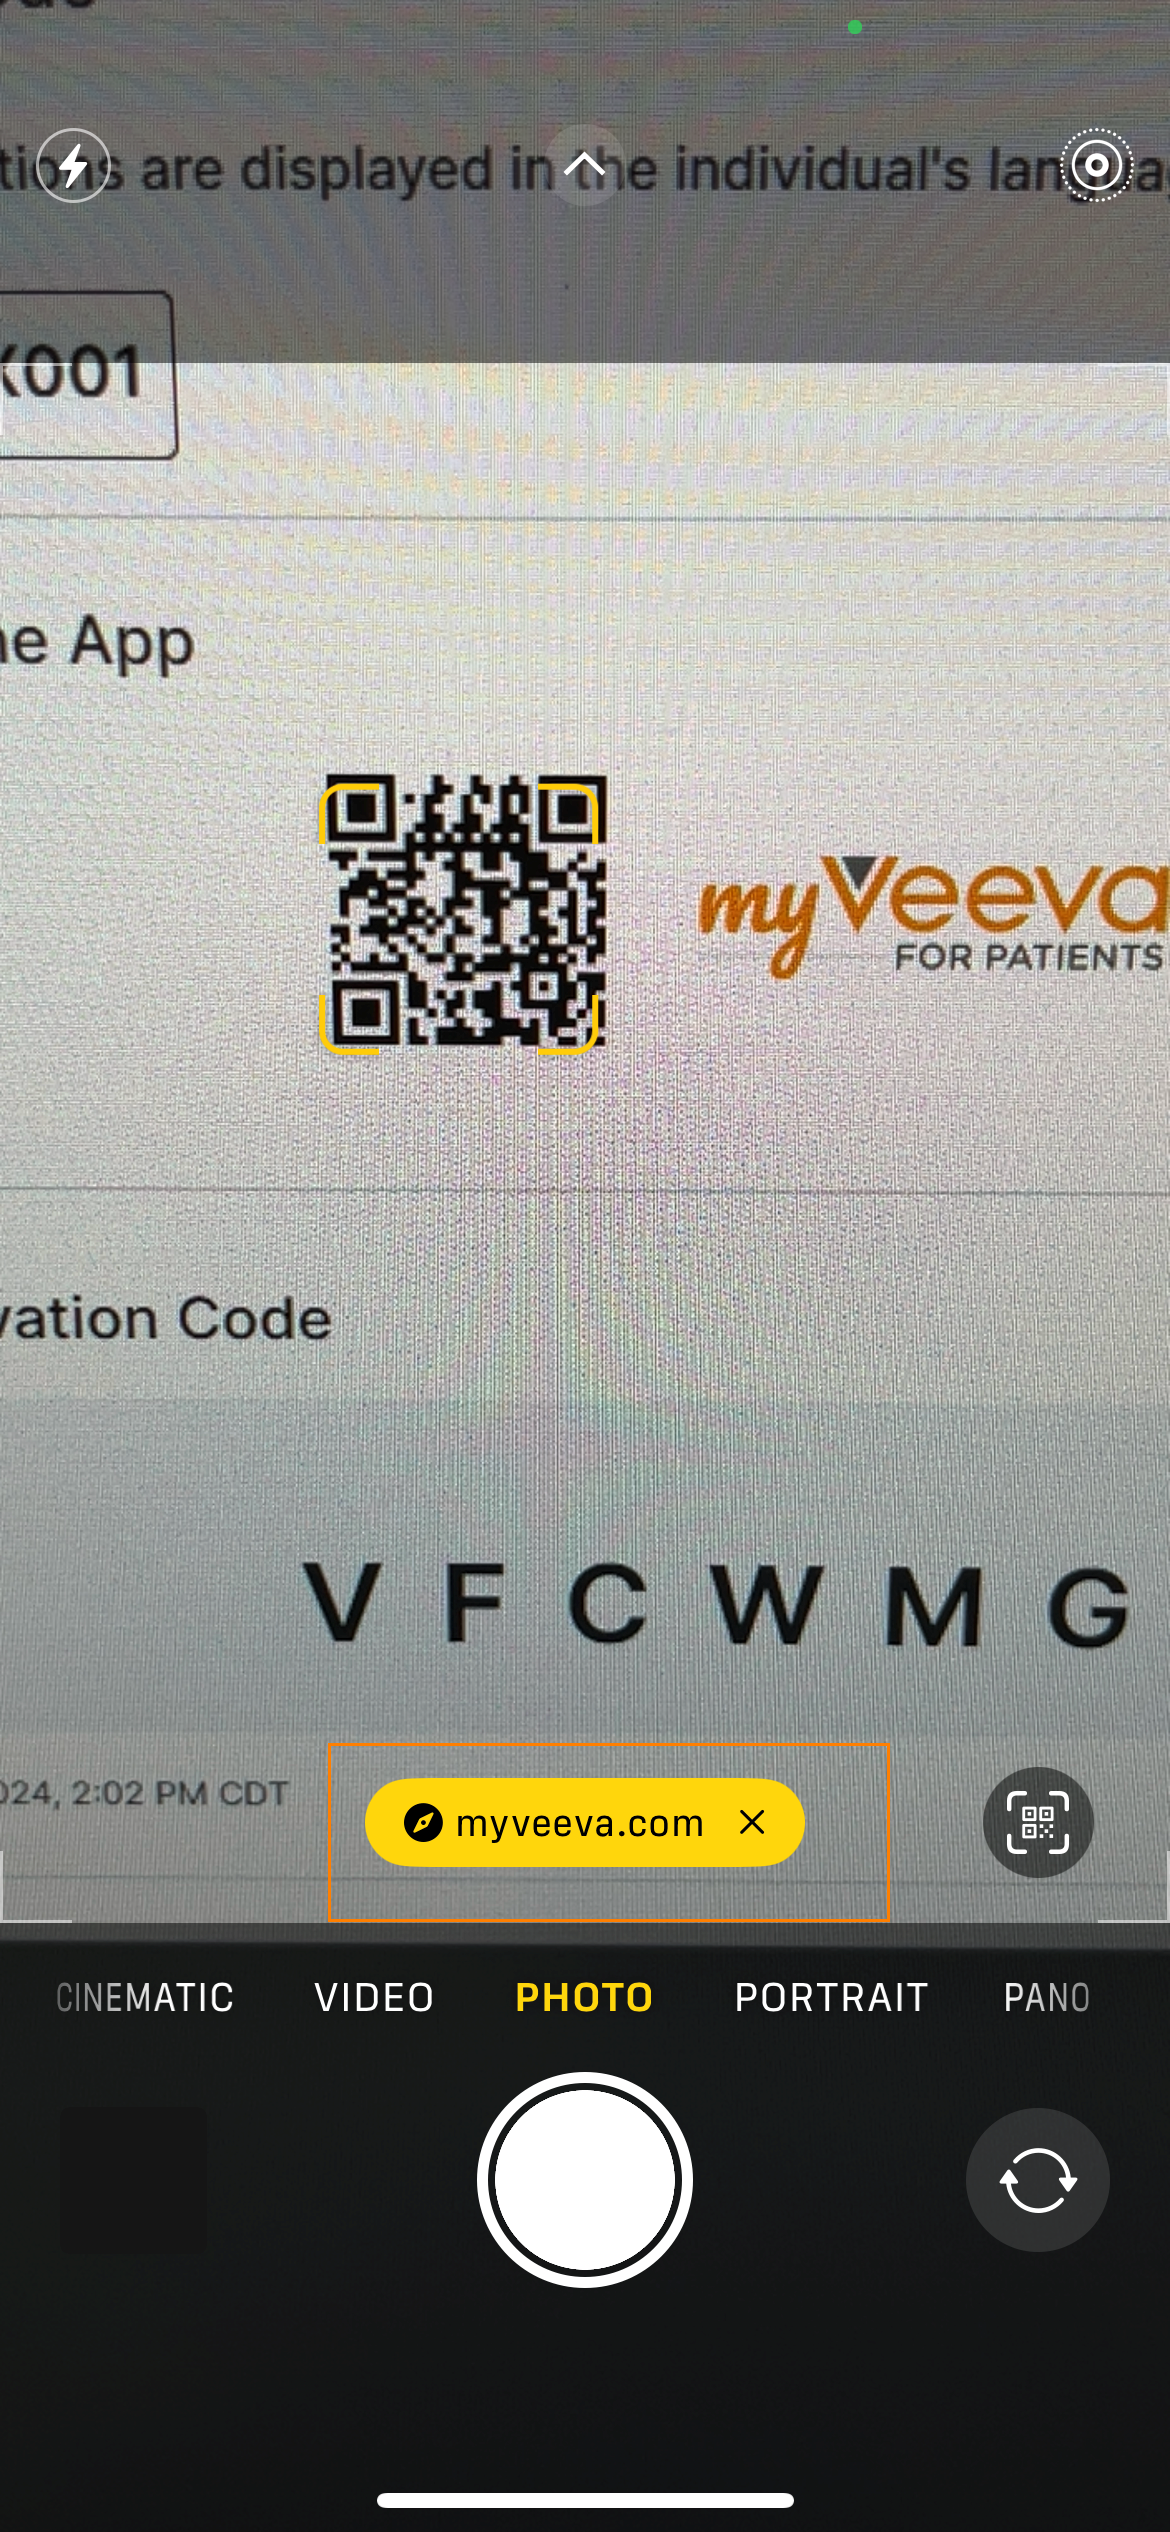
|
| 2 | In the MyVeeva for Patients app or website, select Register with Activation Code. |

|
| 3 | Enter the registration code from the study team. If you are completing a study in a country that cannot collect personally identifiable information (PII), skip to Step 14. Note for Site Staff: See Generate an Activation Code for information on how to generate the code. |
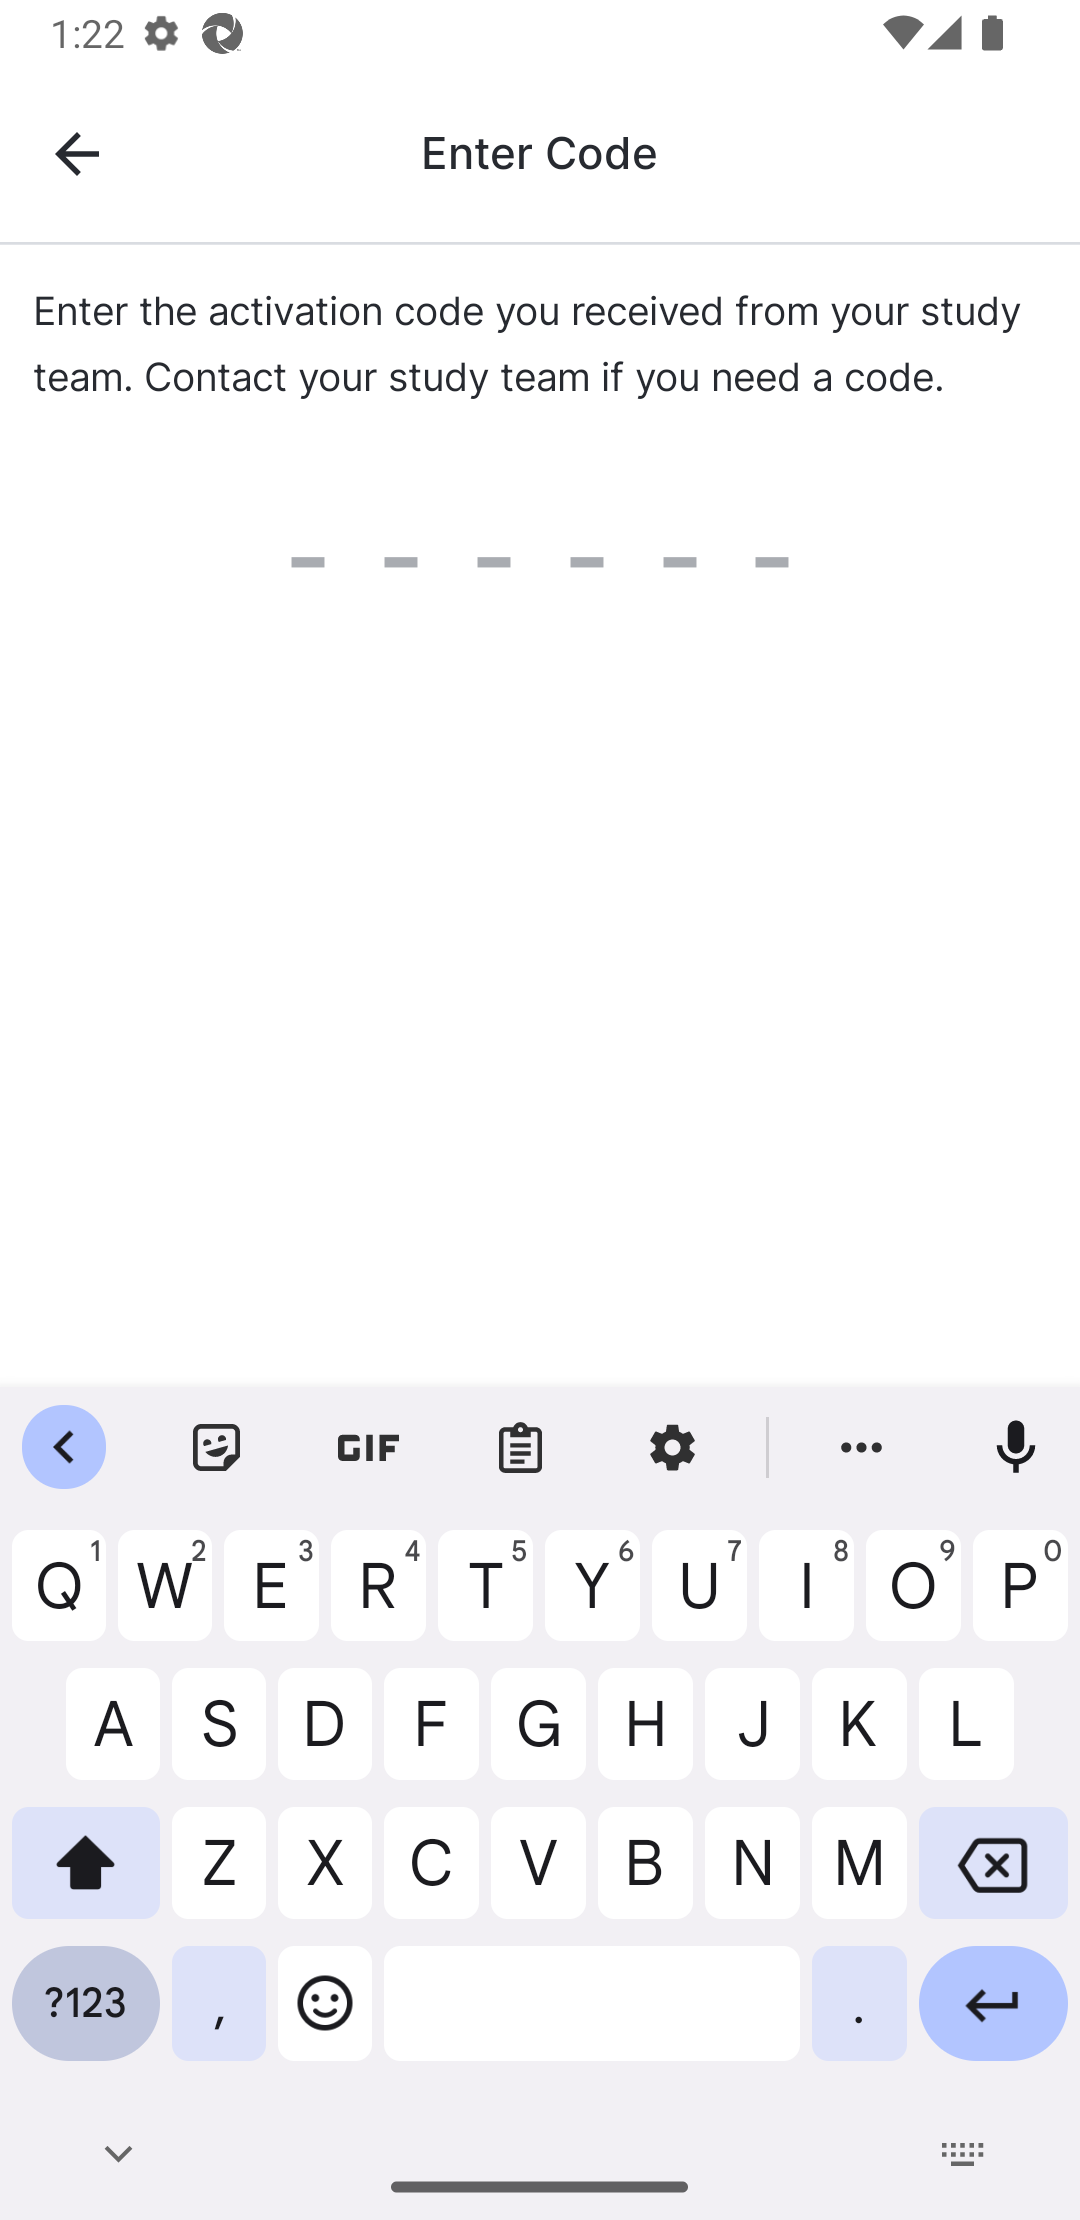
|
| 4 | Enter your year of birth, and select Next. |
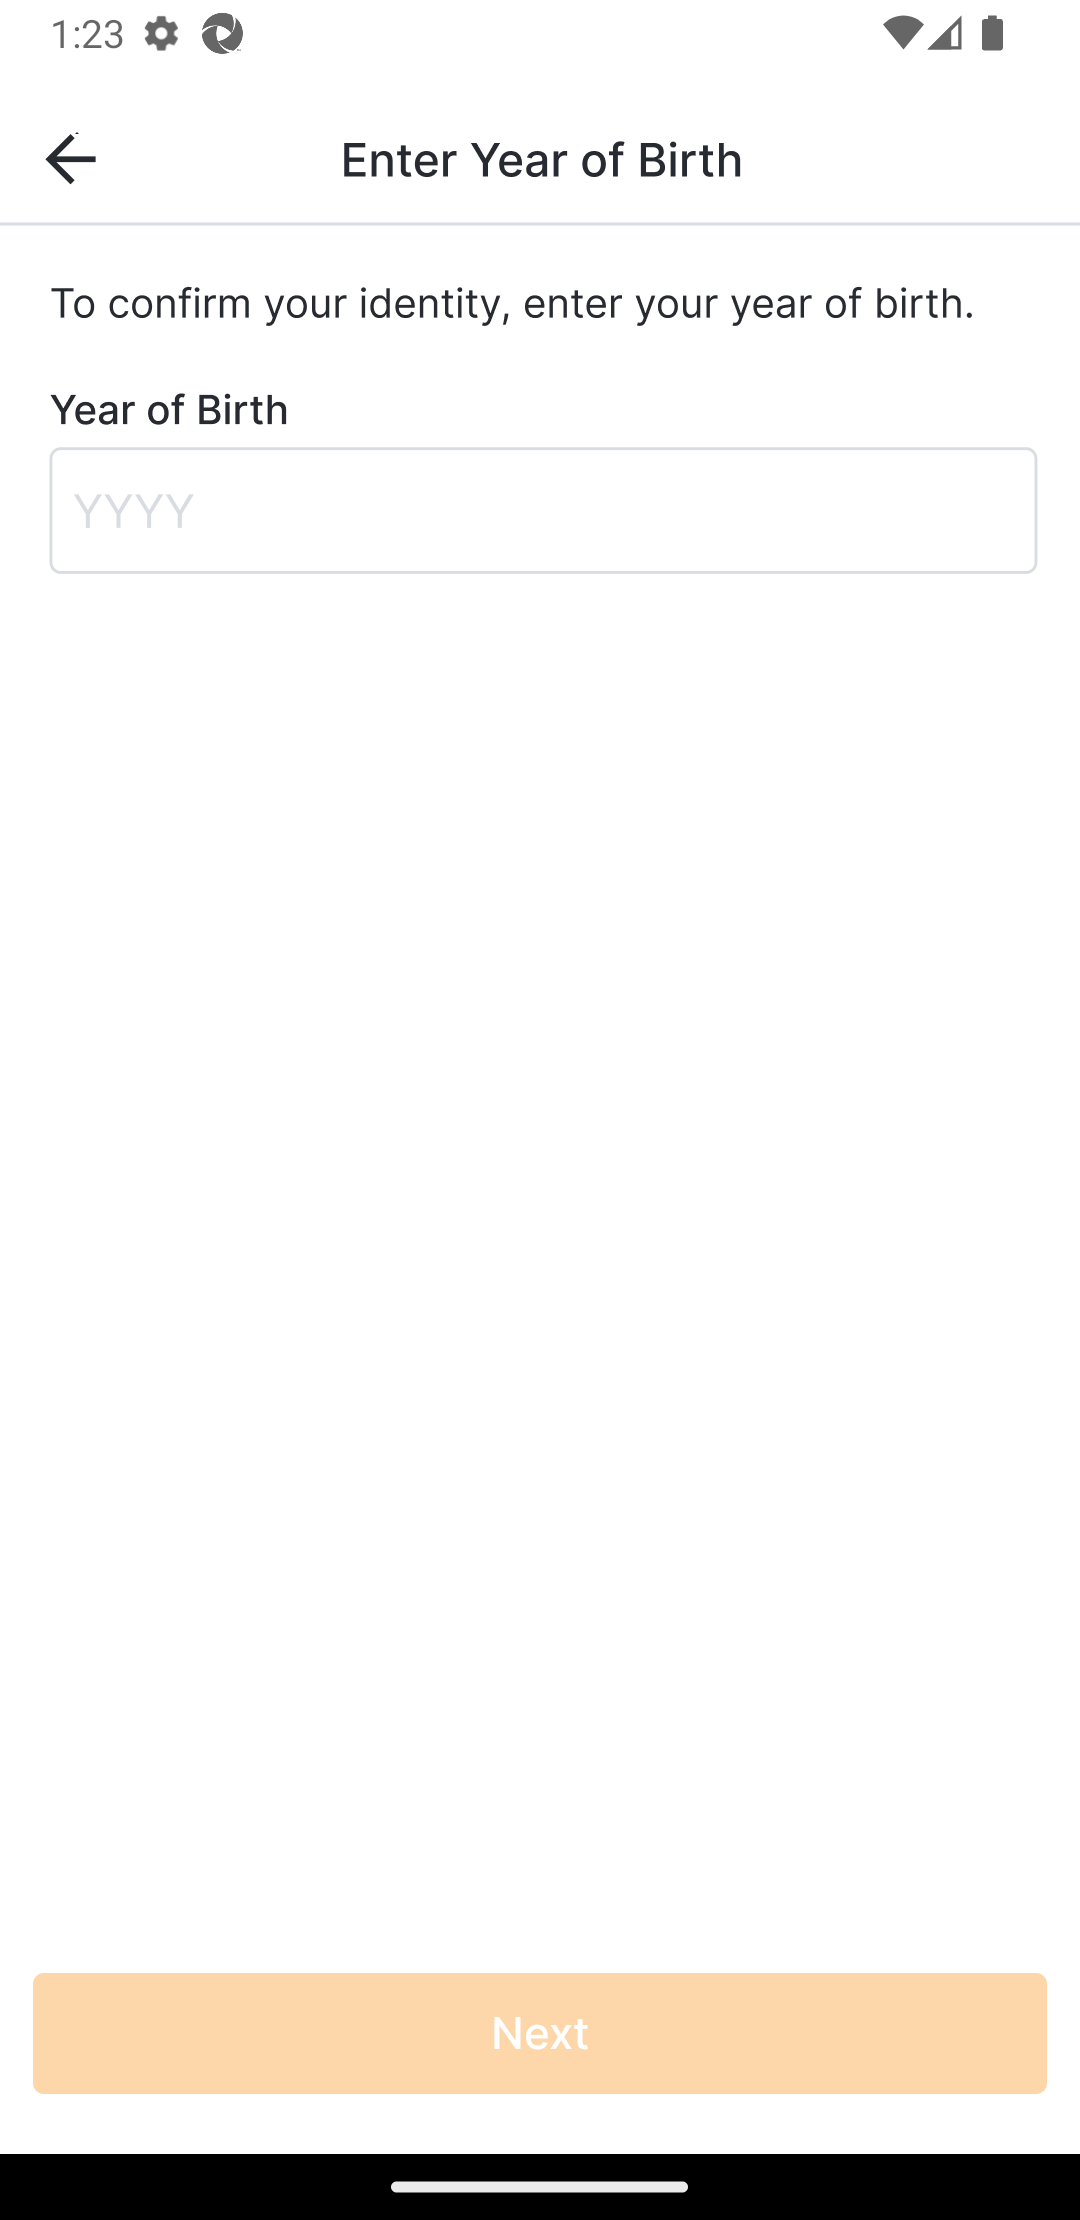
|
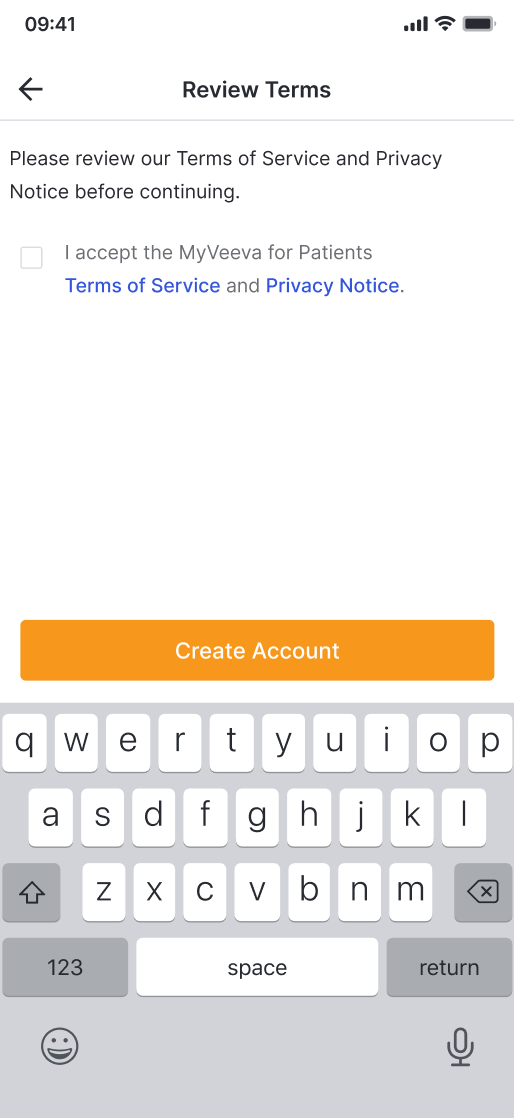
| 5 | Enter a username, review the Terms of Service and Privacy Notice, select the check box, and select Next. |
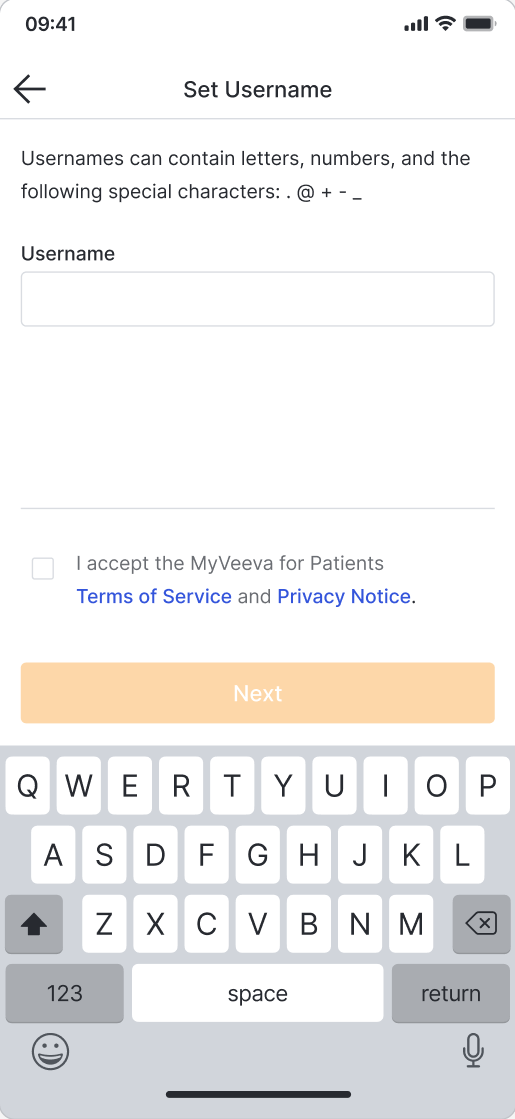
|
| 6 | Enter a password, and then reenter it to verify that it’s correct. Select Next. |
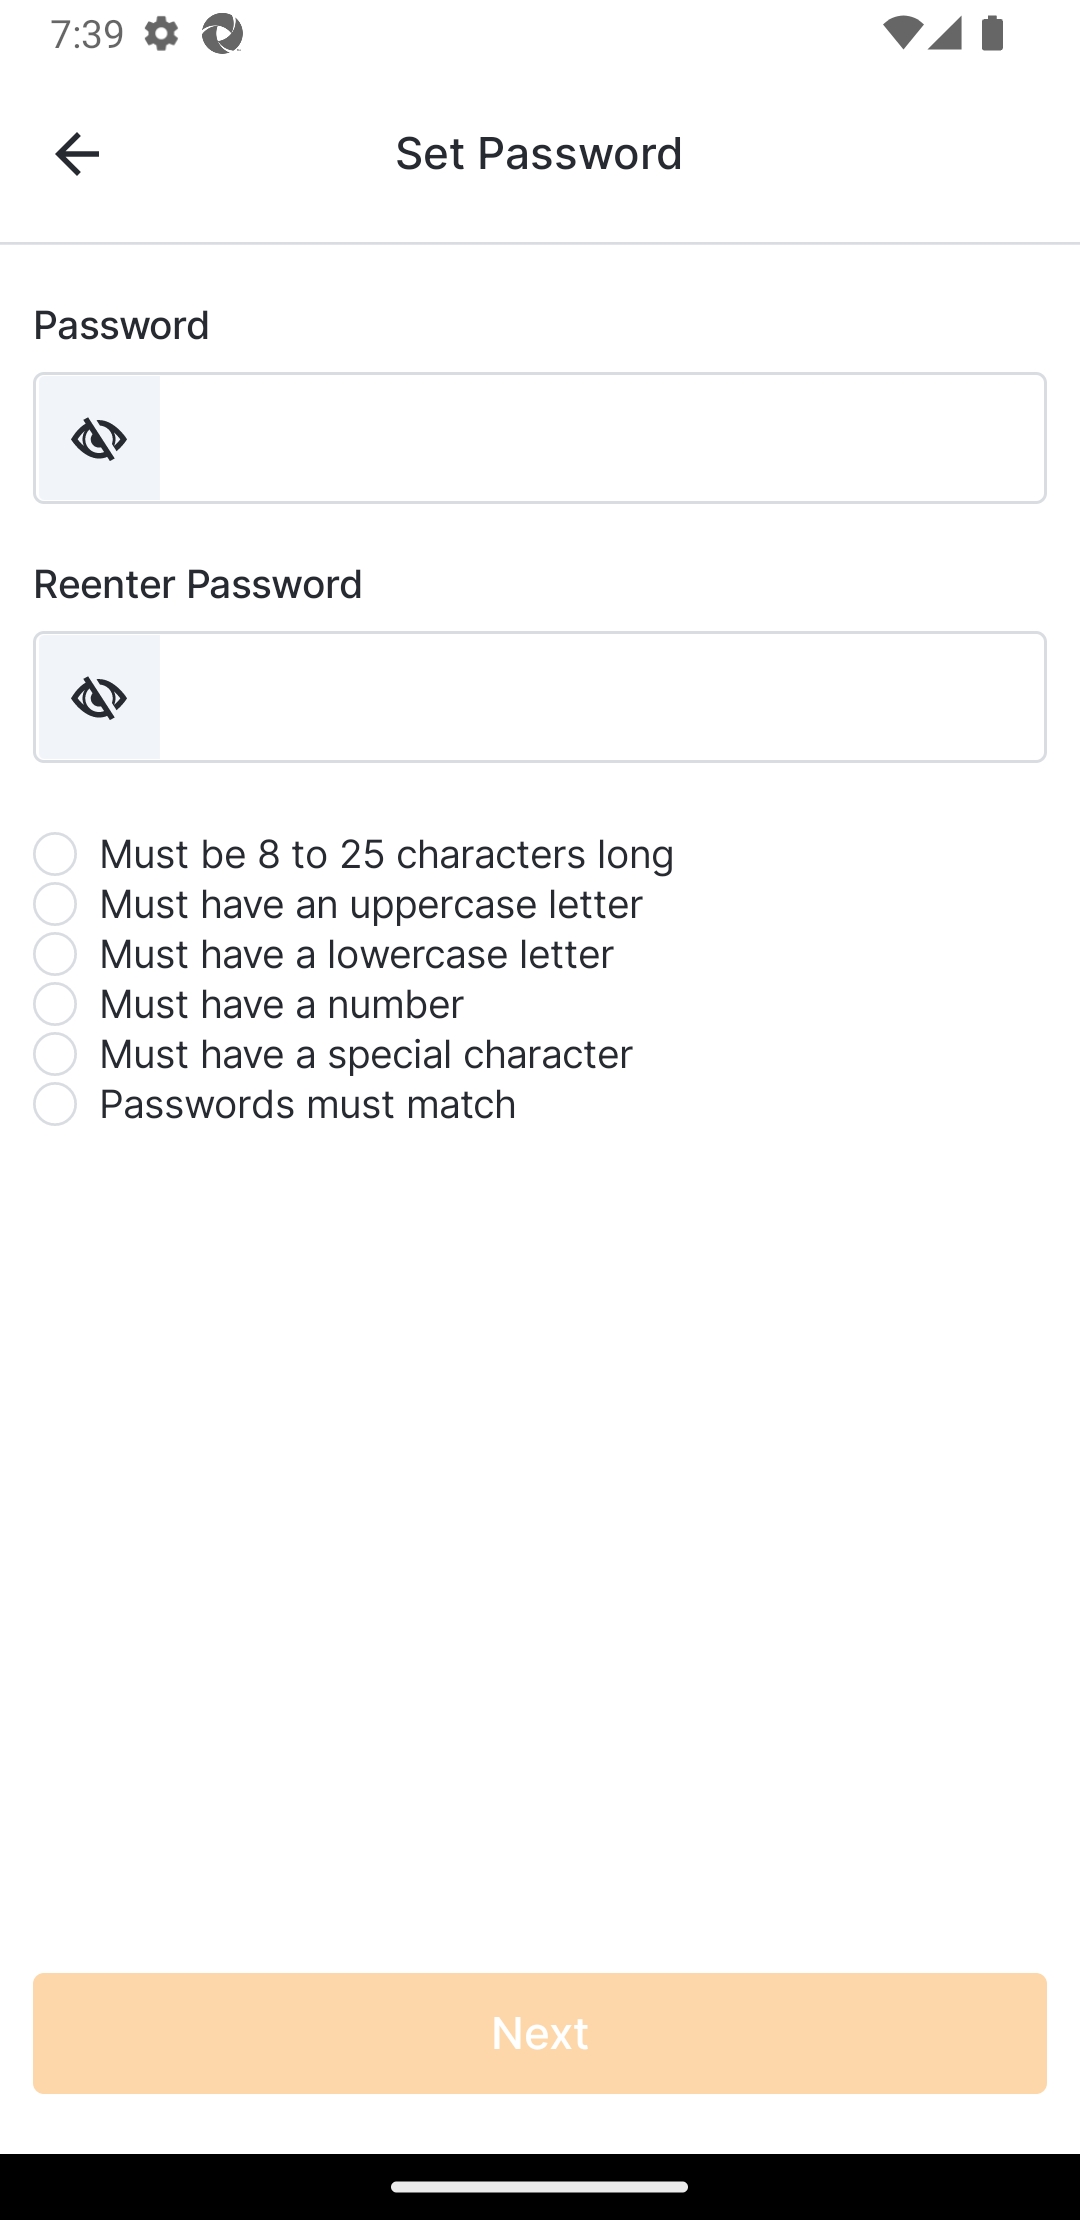
|
| 7 | Select the verification method you want to use. If you selected Phone Number, continue to Step 8. If you selected Email, skip to Step 11. If you don’t have a phone number or email, select Set Up PIN Login, and skip to Step 13. |
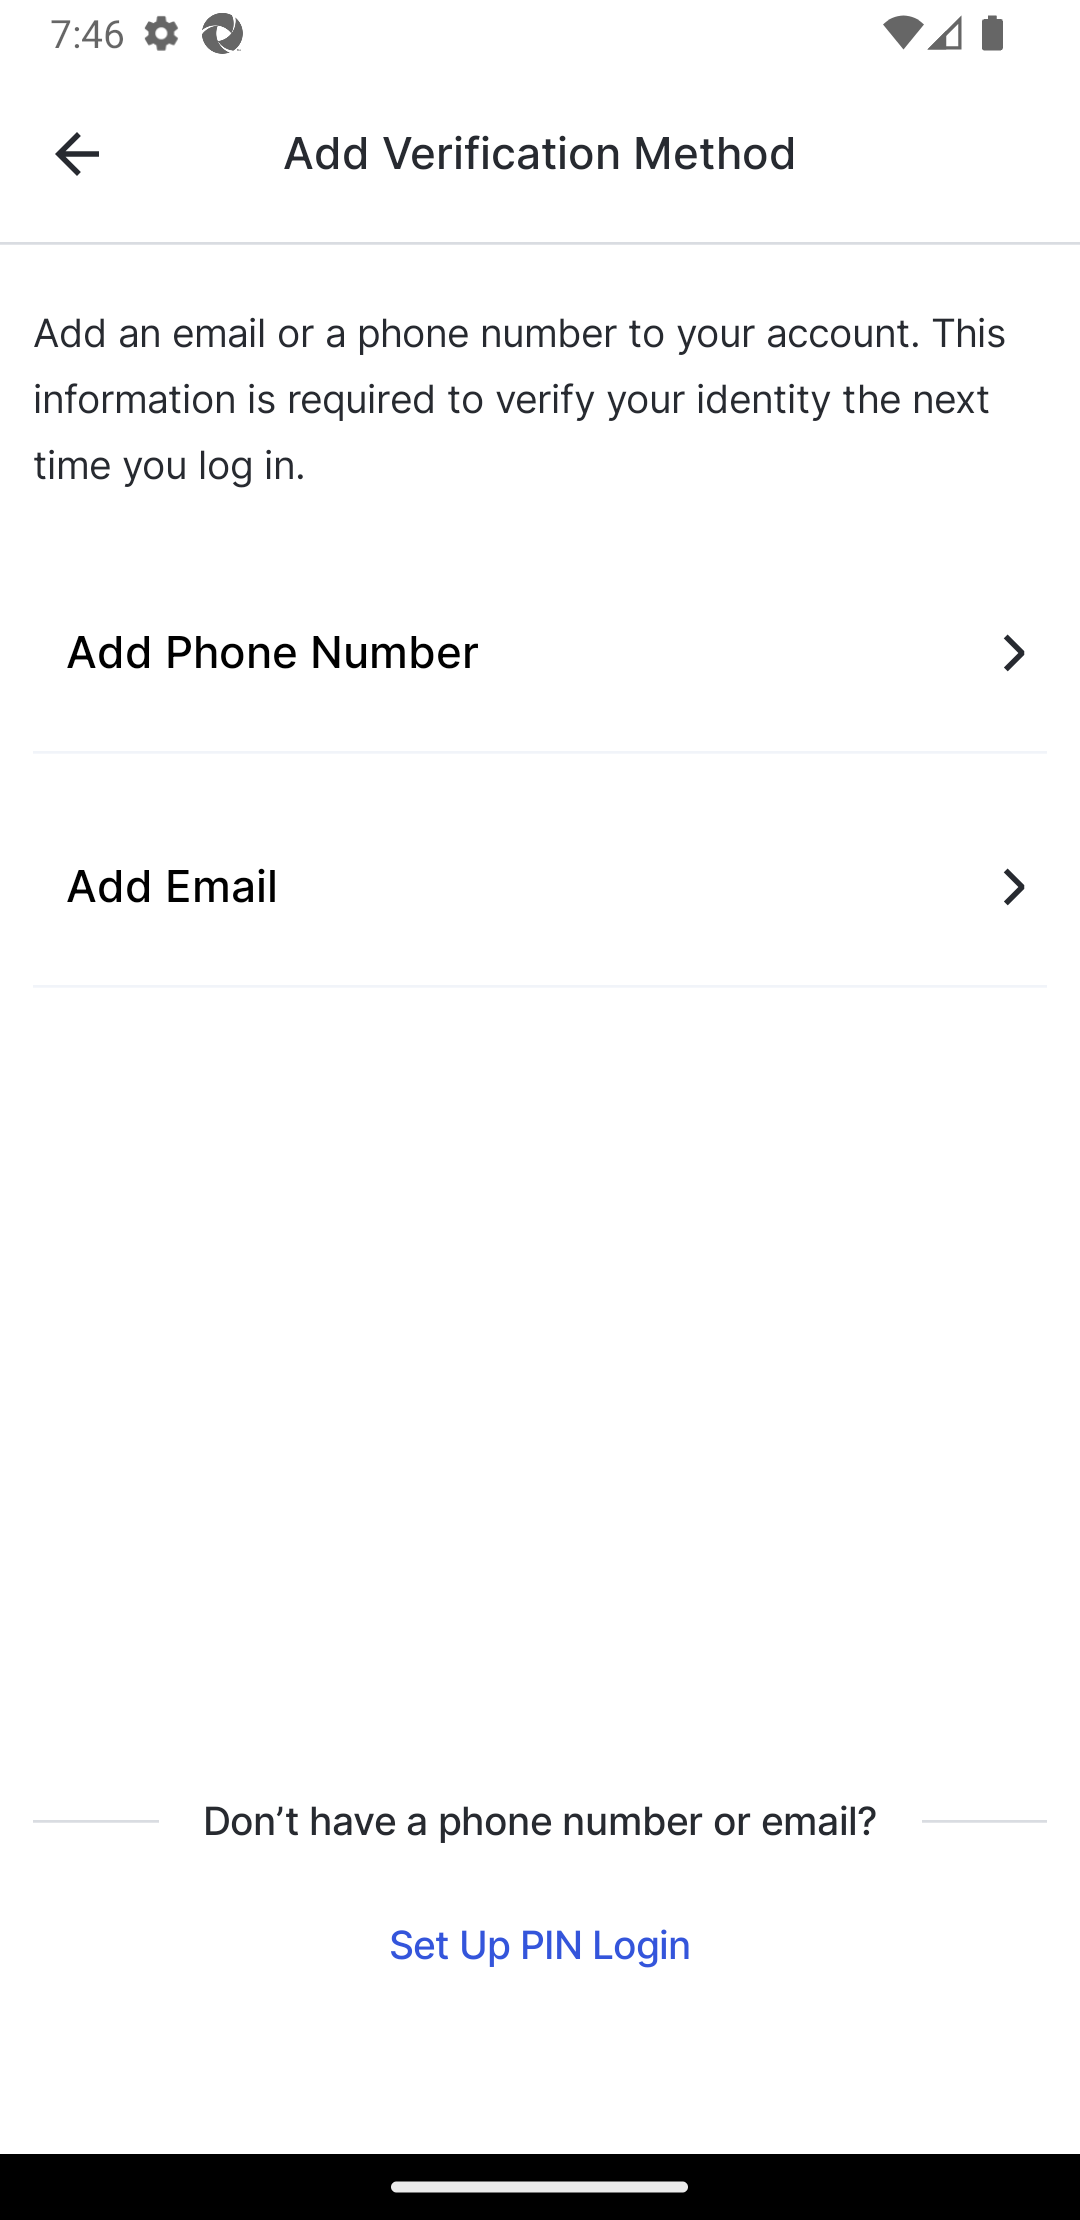
|
| 8 | Enter your phone number and select Get a Text or Receive a Call. If you selected Get a Text, continue to Step 9. If you selected Receive a Call, skip to Step 10. |
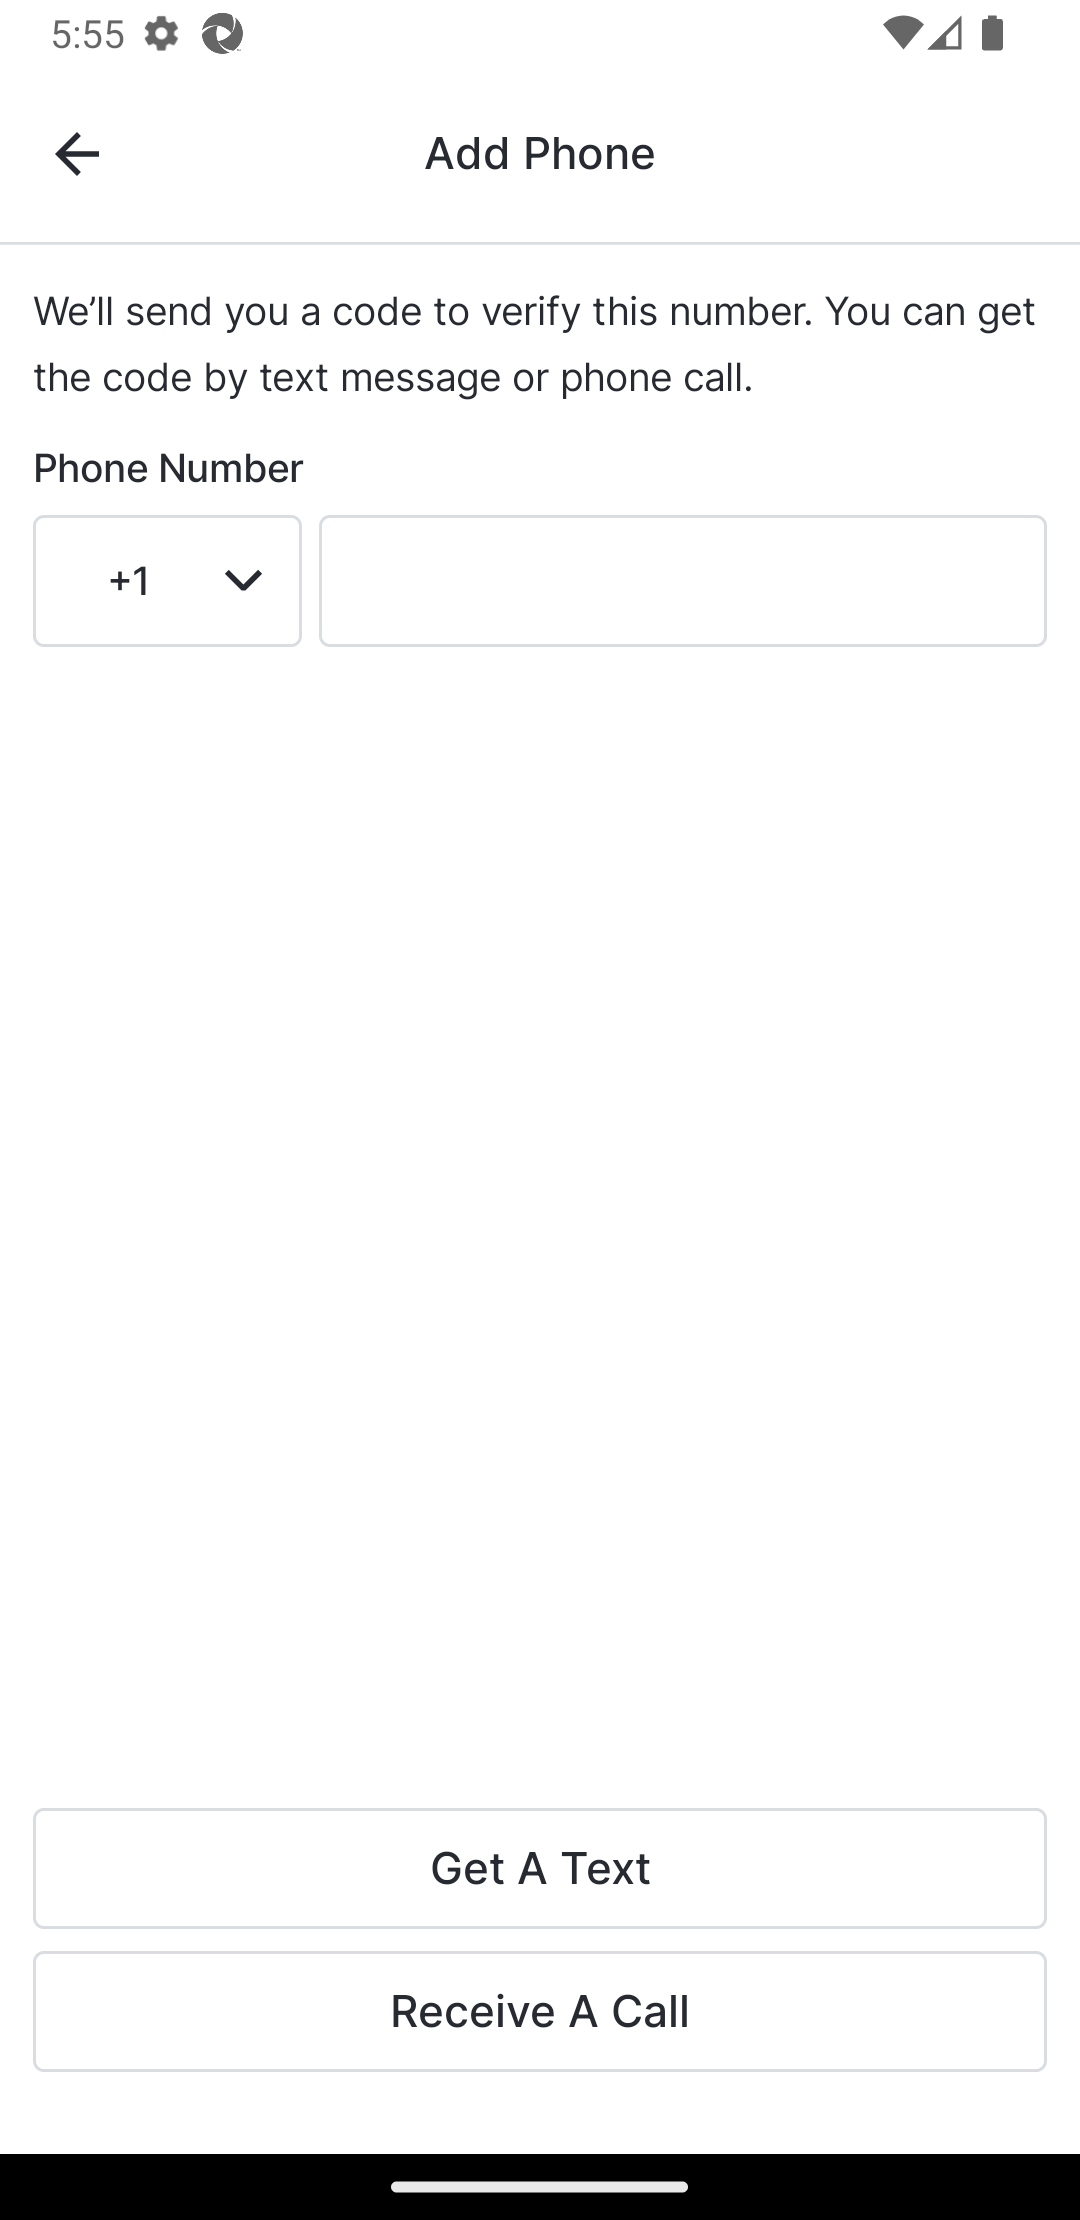
|
| 9 | View the texts on your device and find the verification code. Enter it on the Confirm Identity - Text page. Registration is complete, and you are logged in to MyVeeva for Patients. |
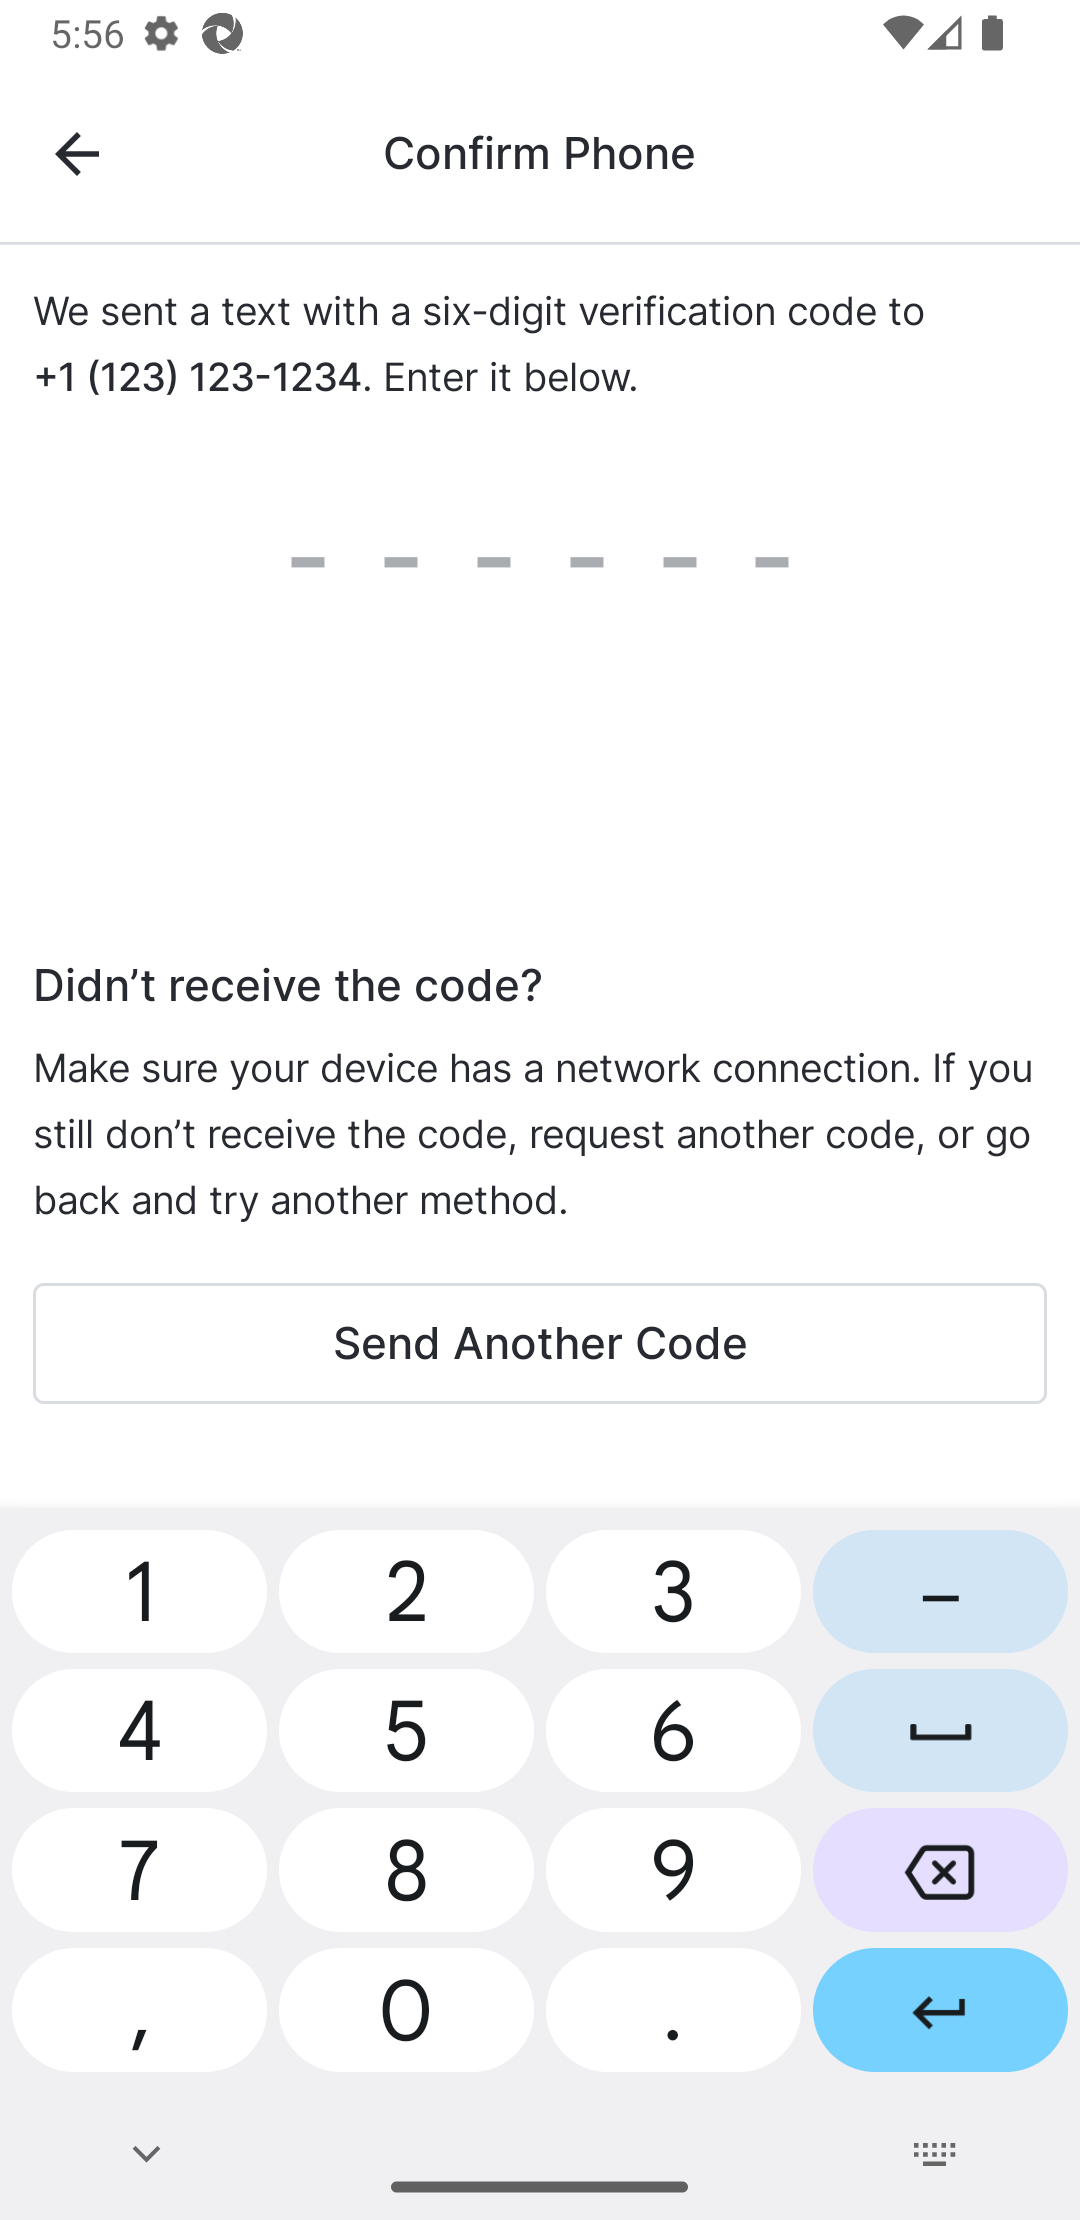
|
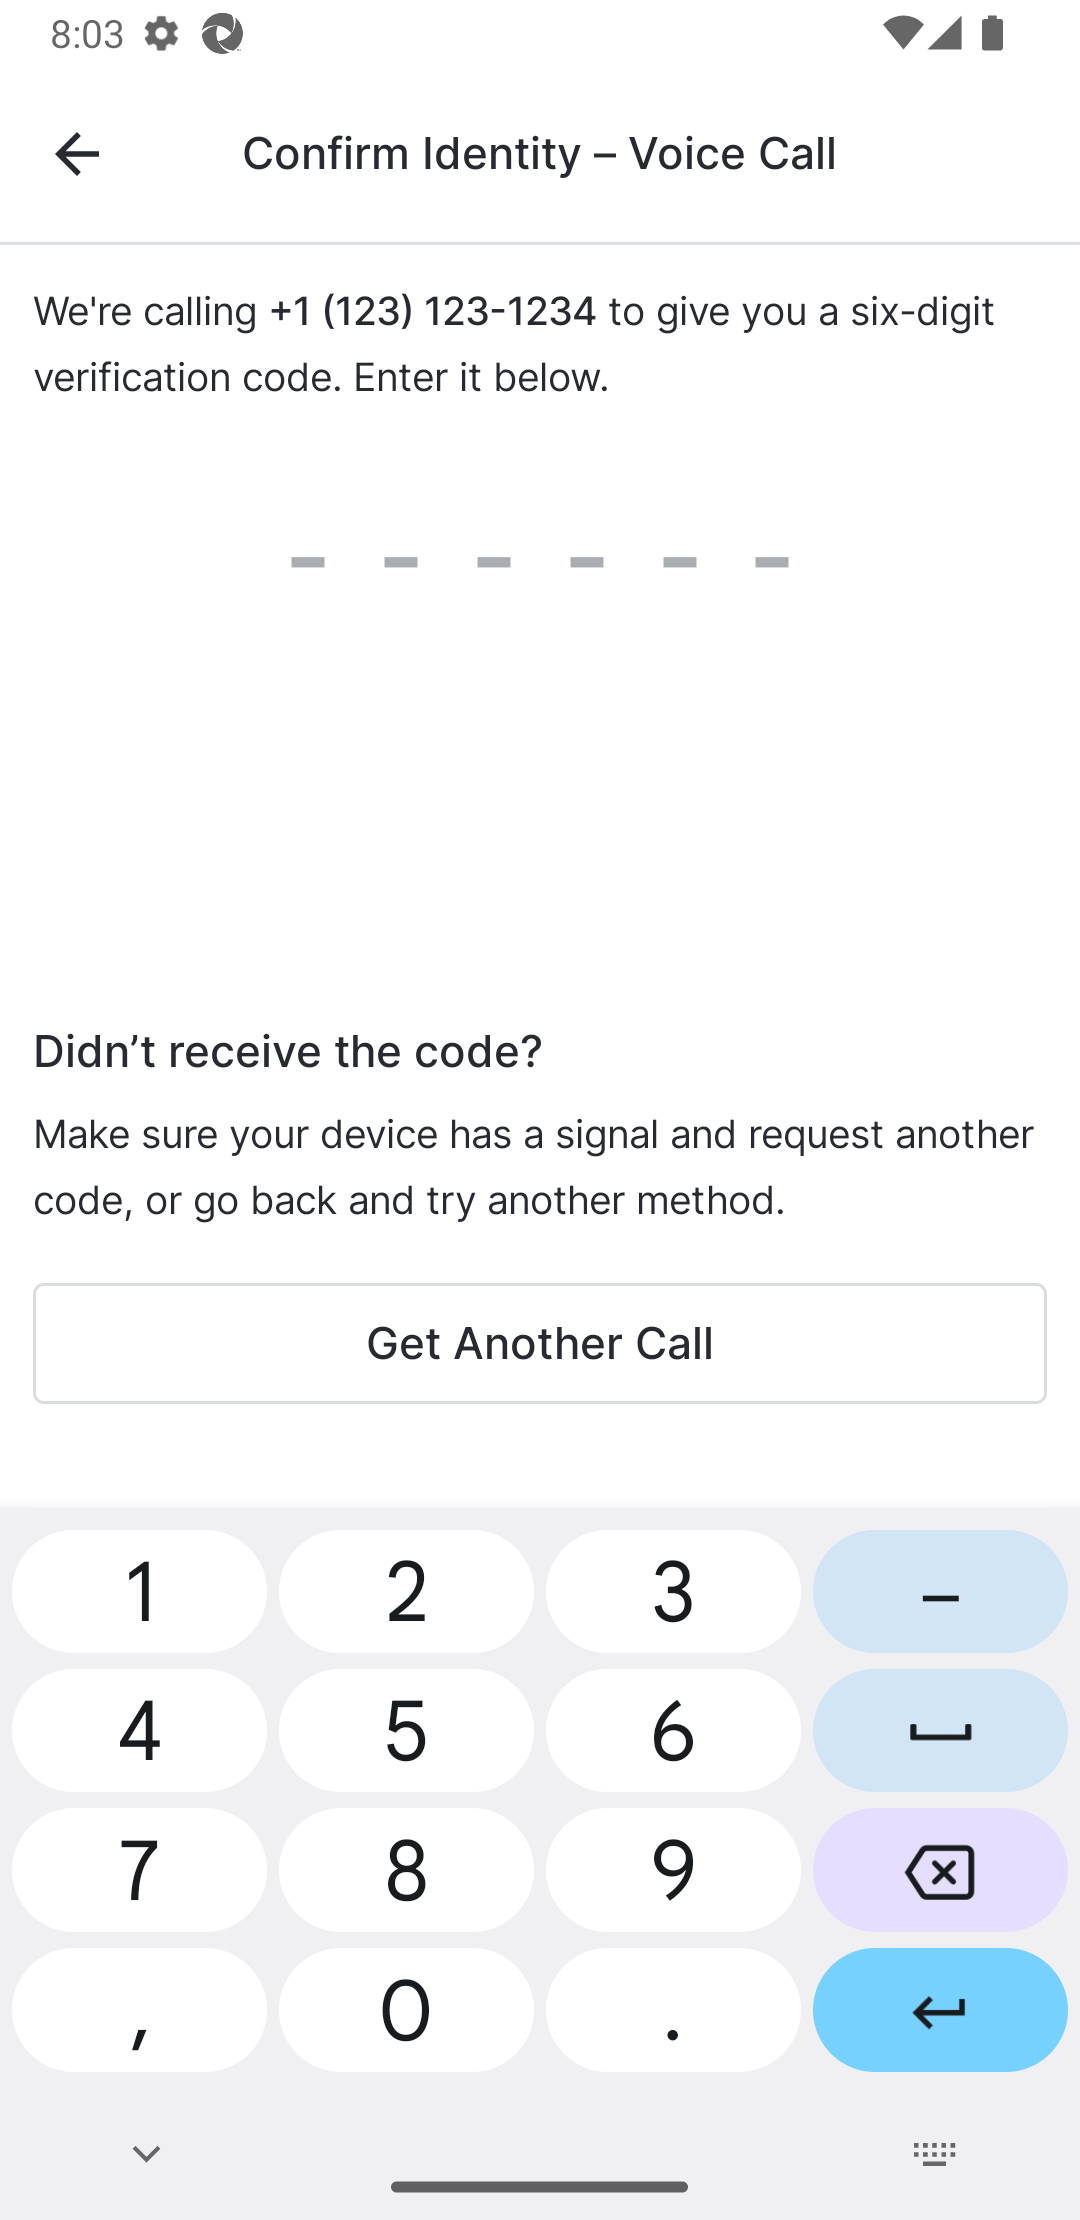
| 10 | Answer the phone call, and enter the number it provides on the Confirm Identity - Voice Call page. Registration is complete, and you are logged in to MyVeeva for Patients. |
|
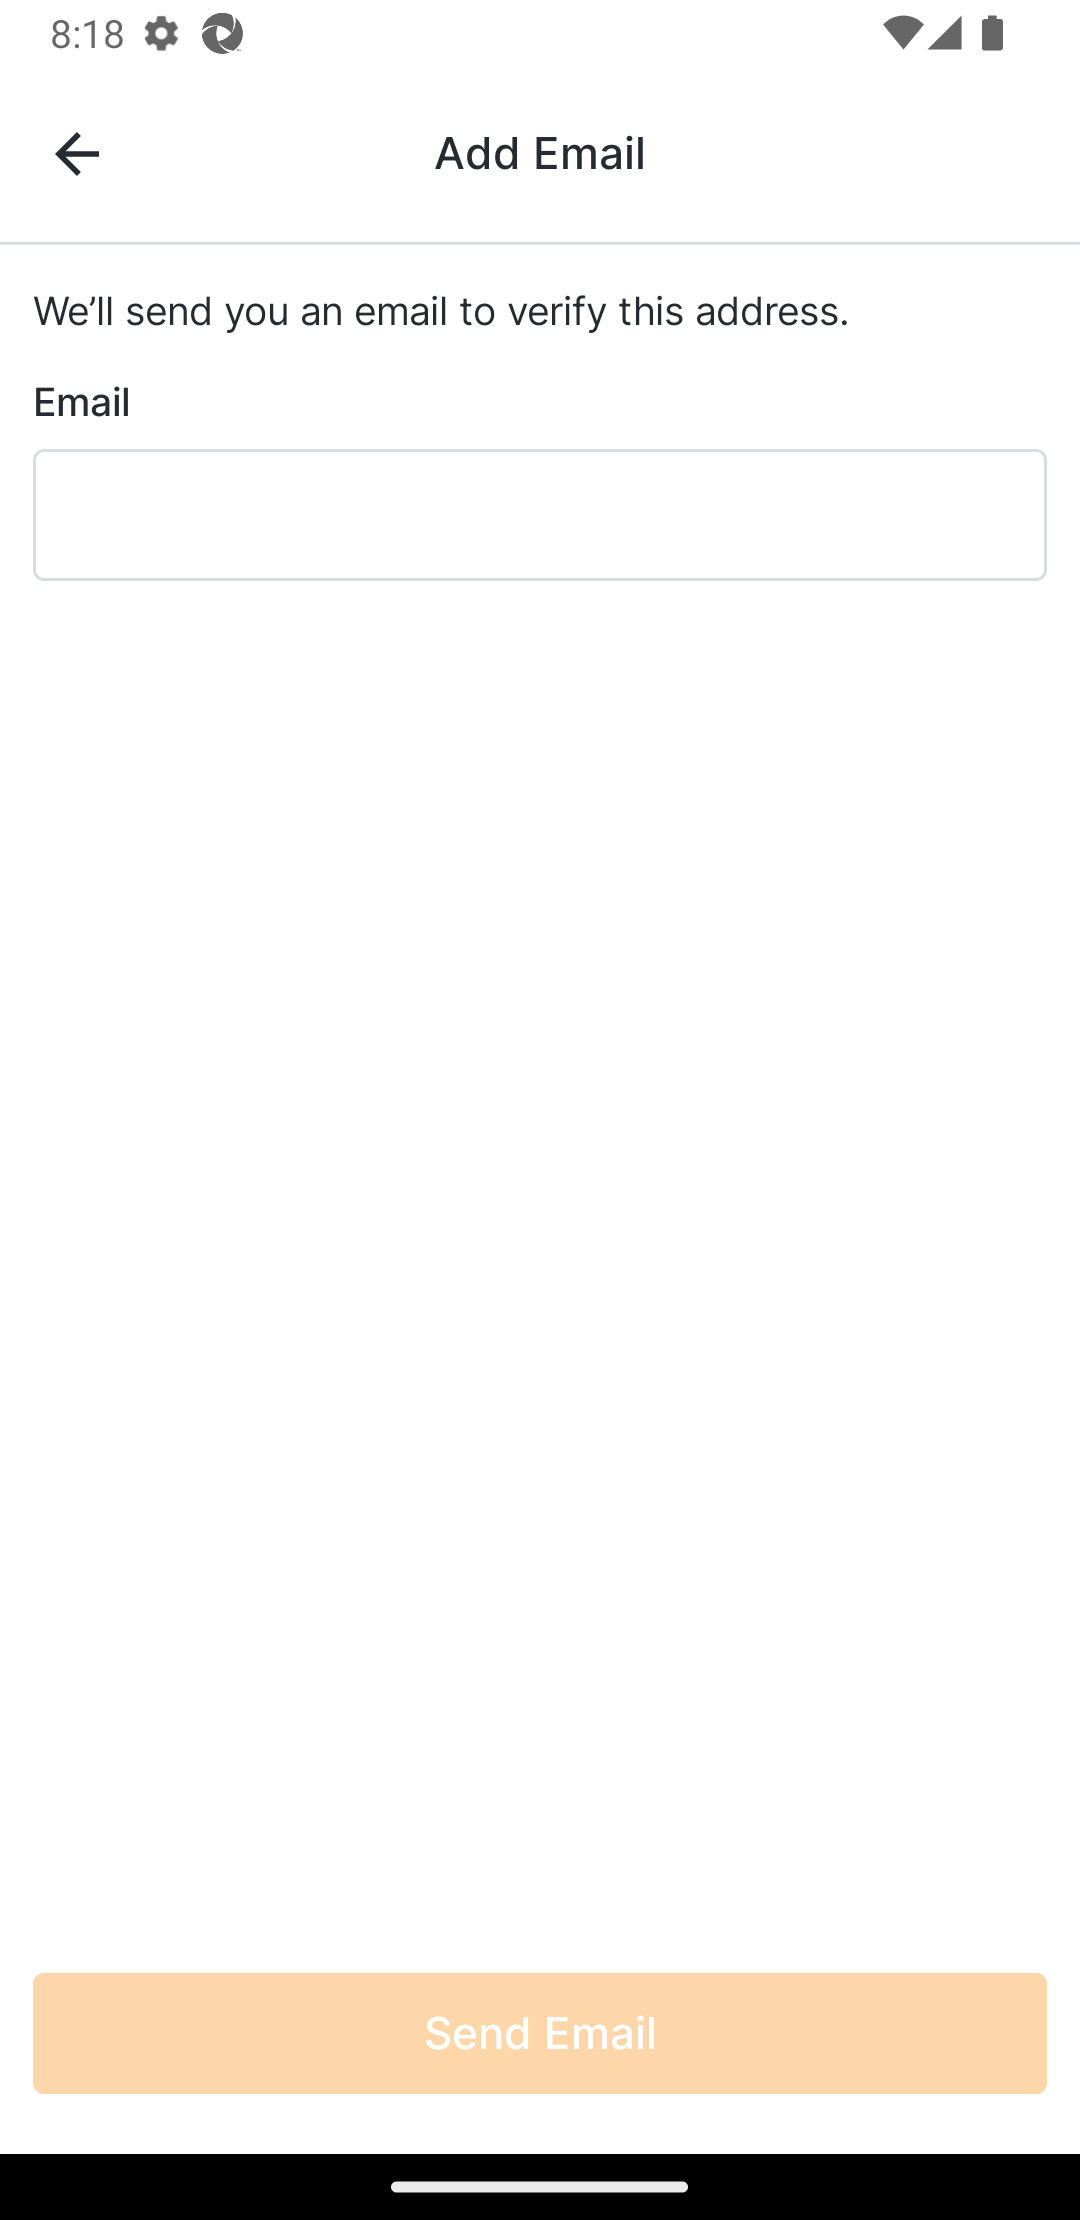
| 11 | Enter your email address and select Send Email. |
|
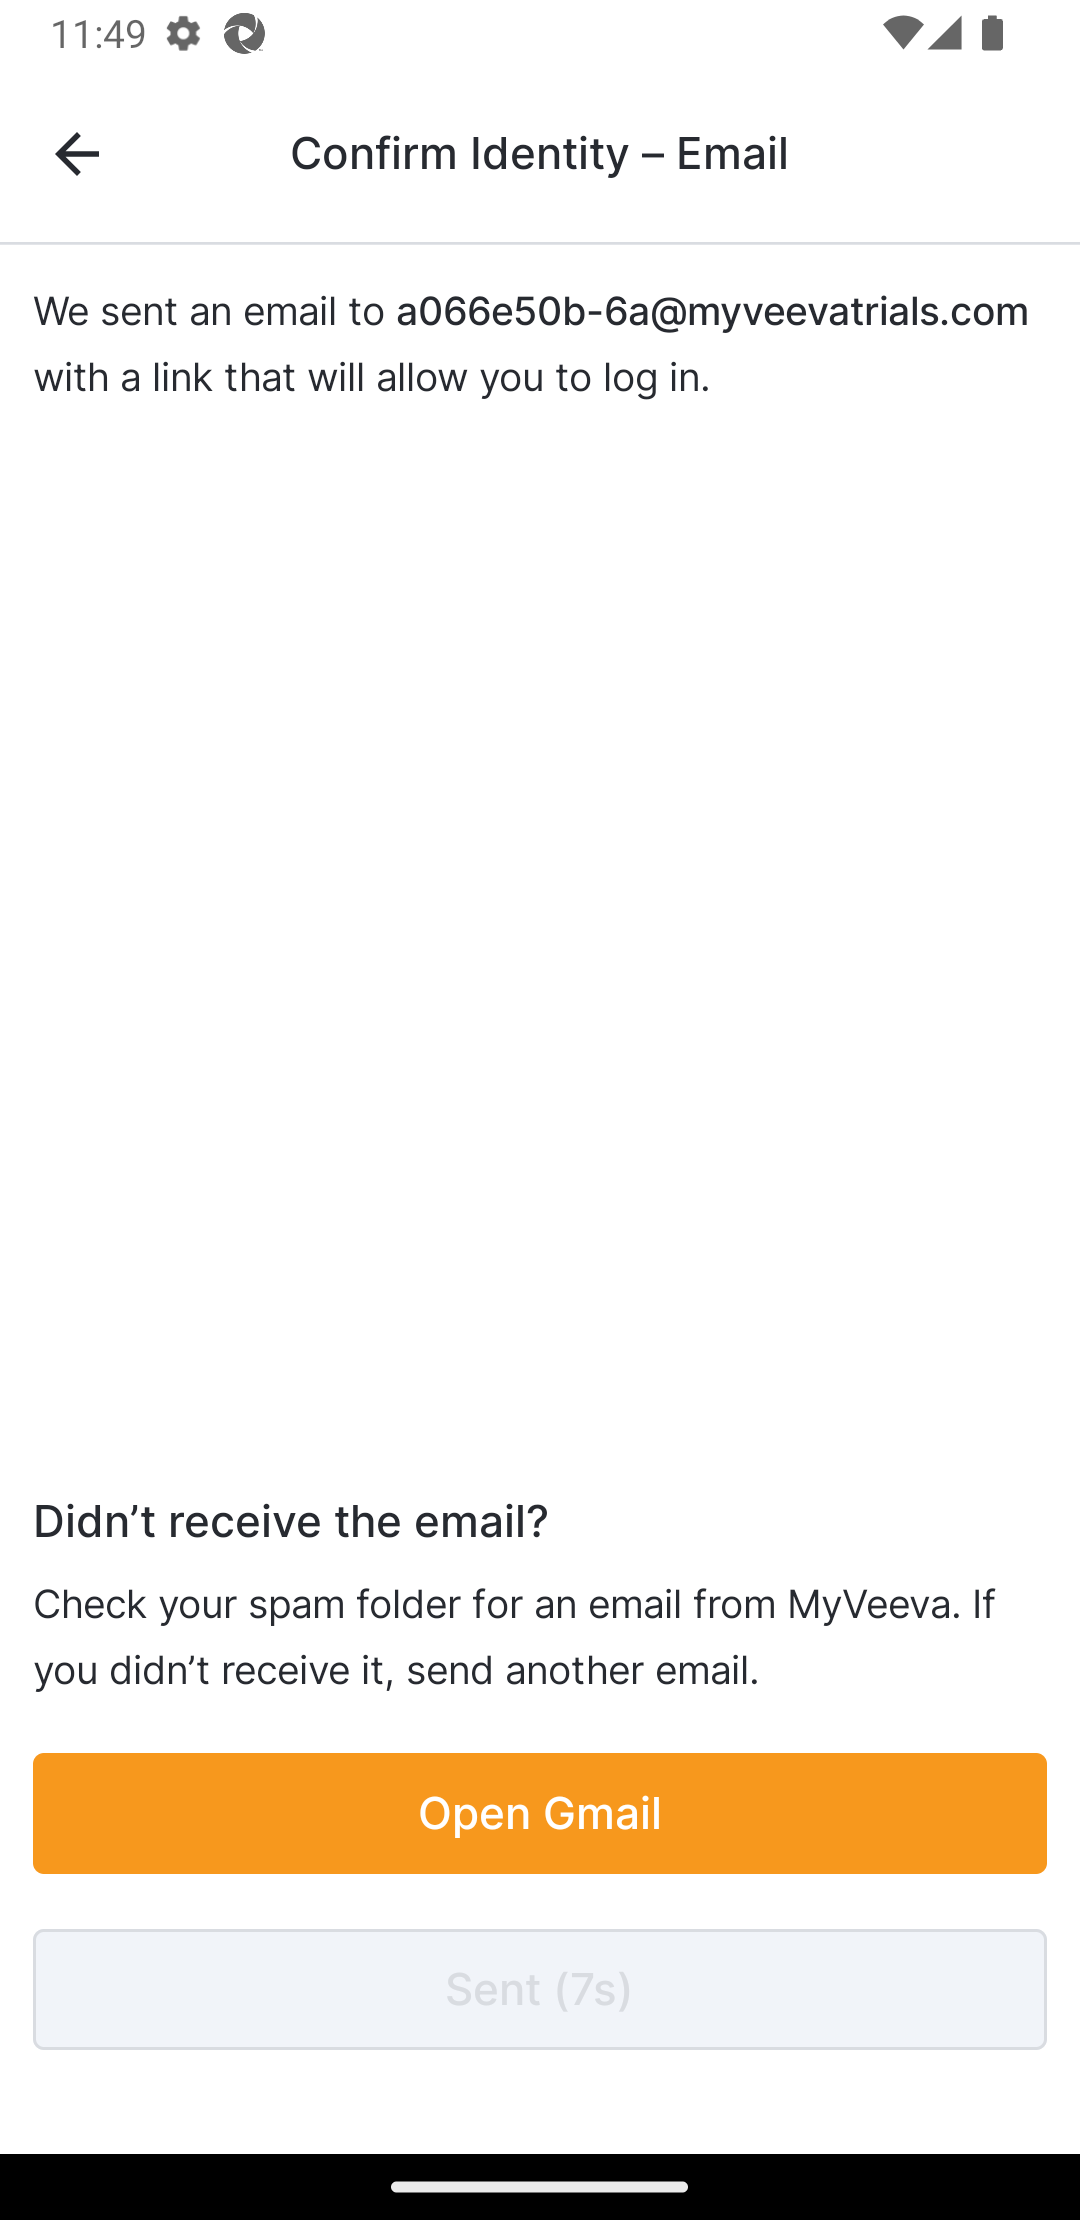
| 12 | Check your email for the link, and select it. An Identity Confirmed message is displayed in the MyVeeva for Patients app if the verification is successful. Registration is complete, and you are logged in to MyVeeva for Patients. |
|
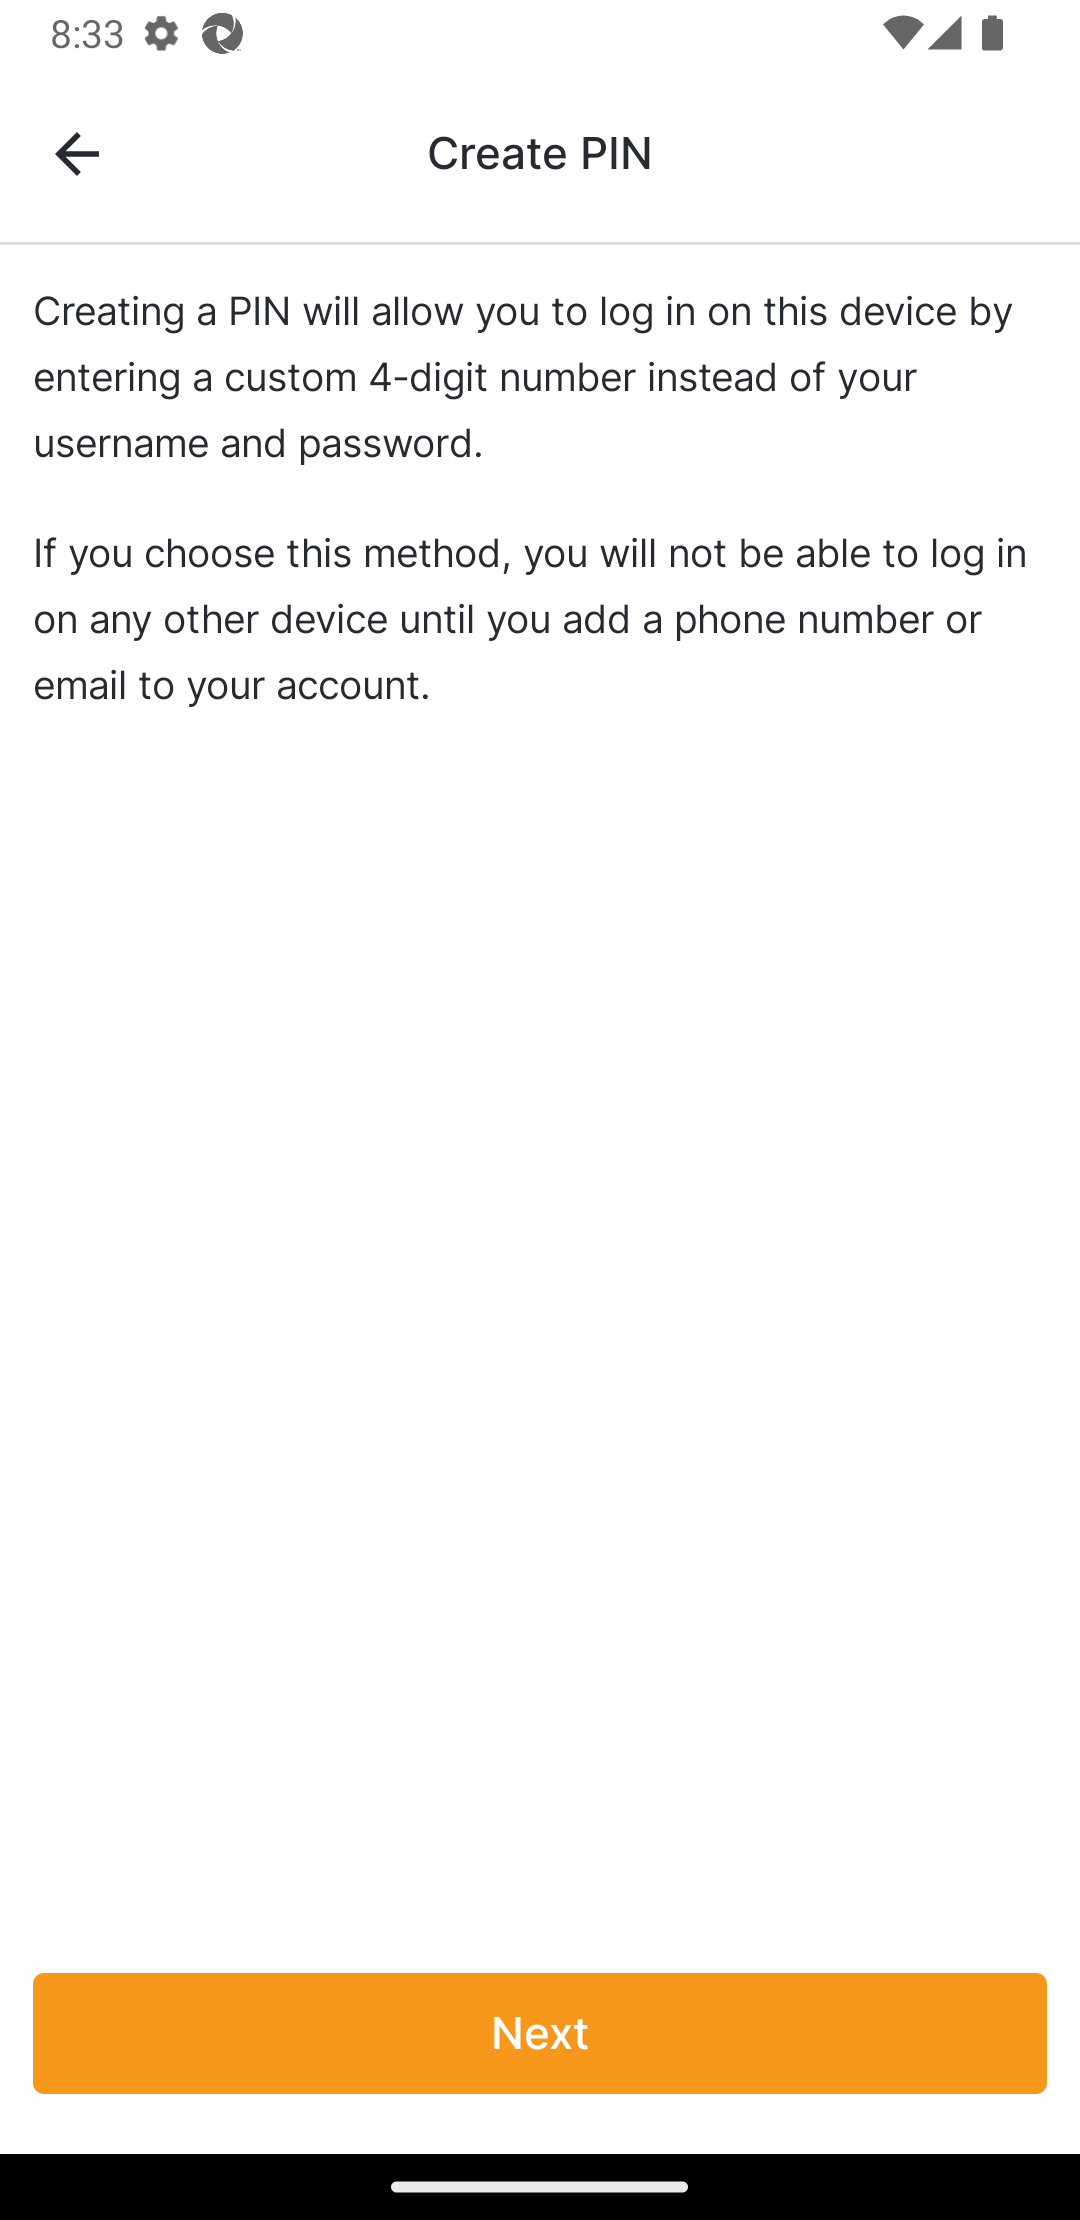
| 13 | Review the limitations of PIN logins, and select Next if you want to continue, or the back arrow to return to the Add Verification Method page. Skip to Step 15. |
|
| 14 | Review the Terms of Service and Privacy Notice, select the check box, and select Create Account. |
|
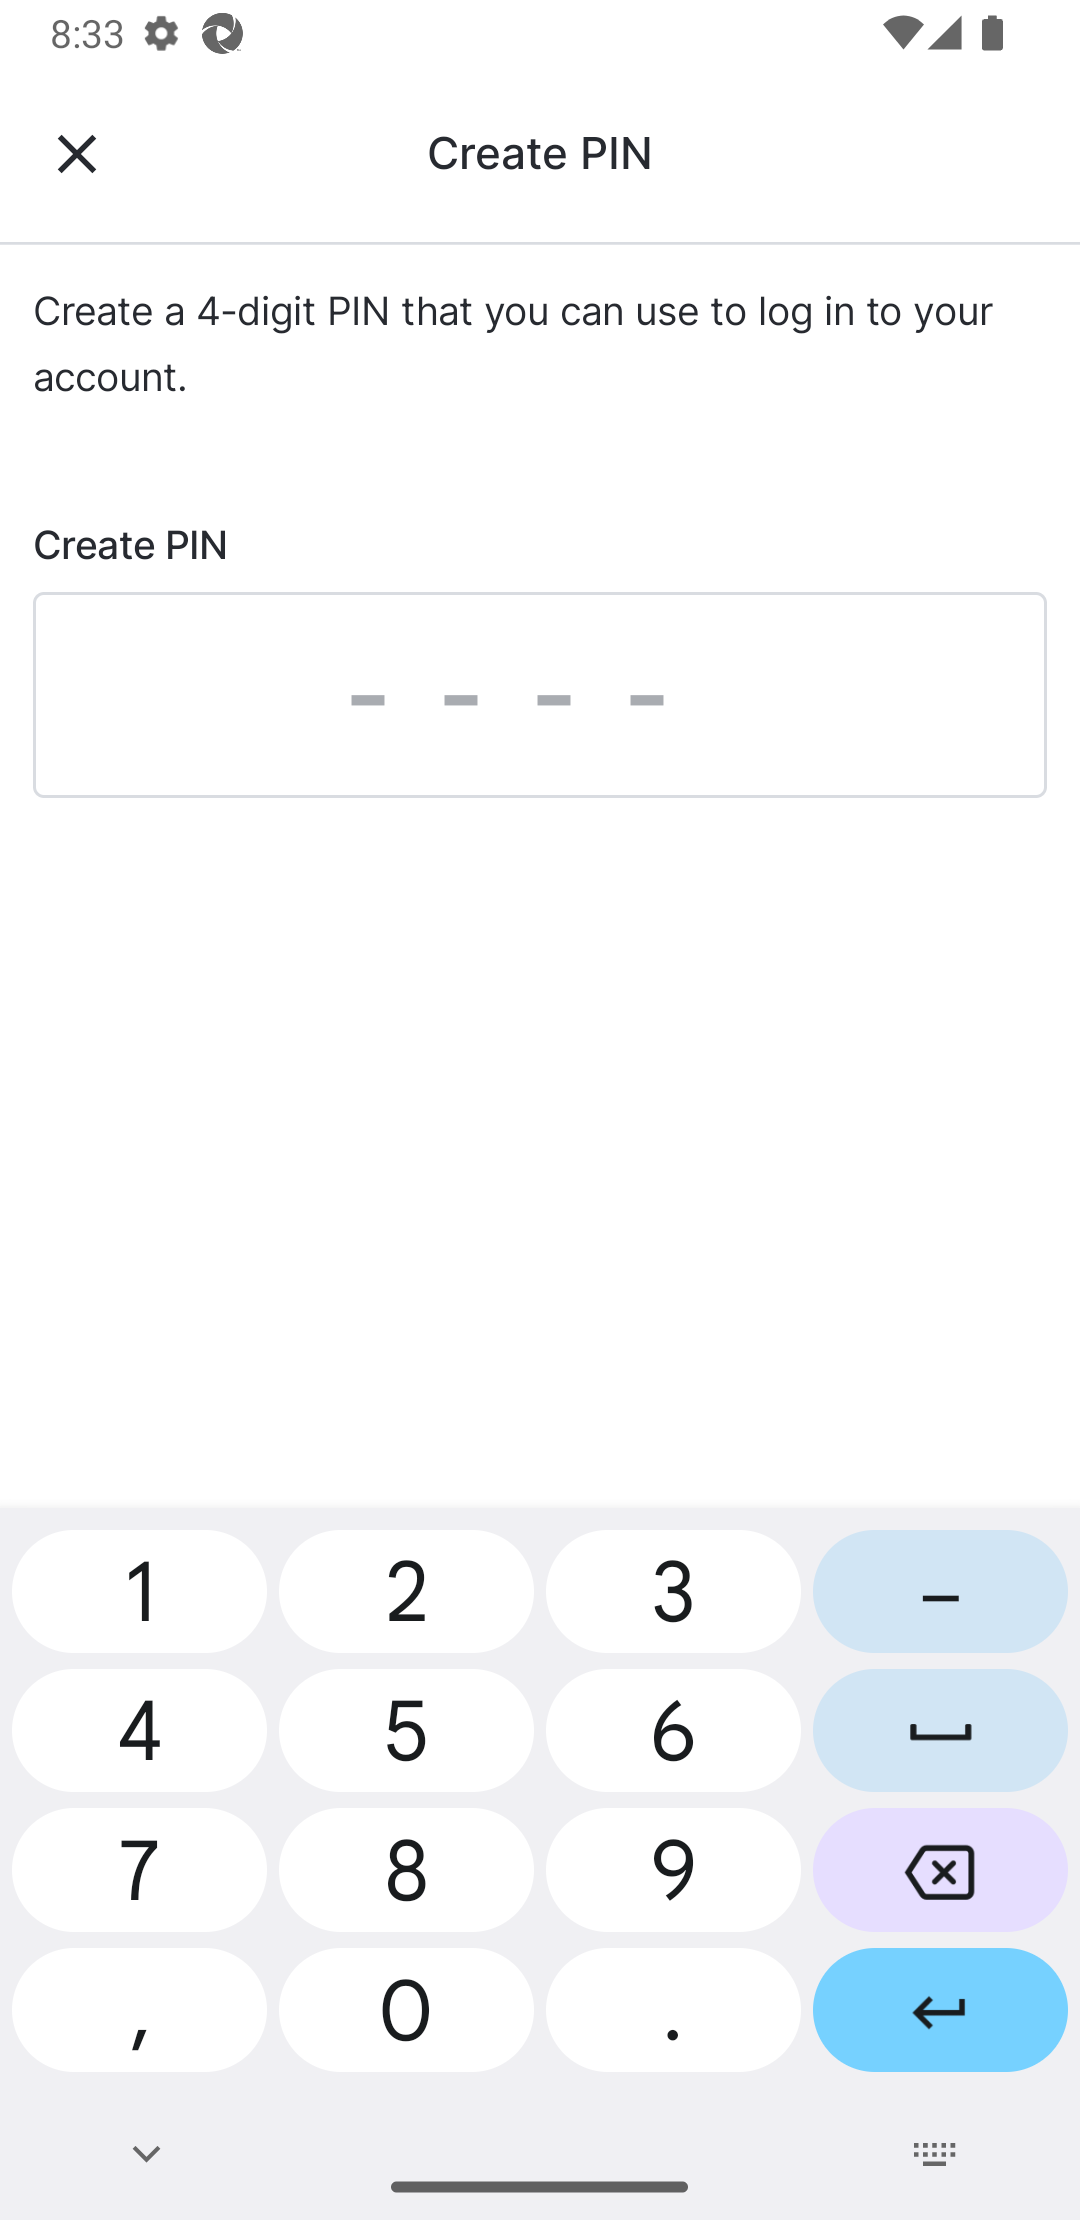
| 15 | Enter the 4-digit PIN you want to use to log in. |
|
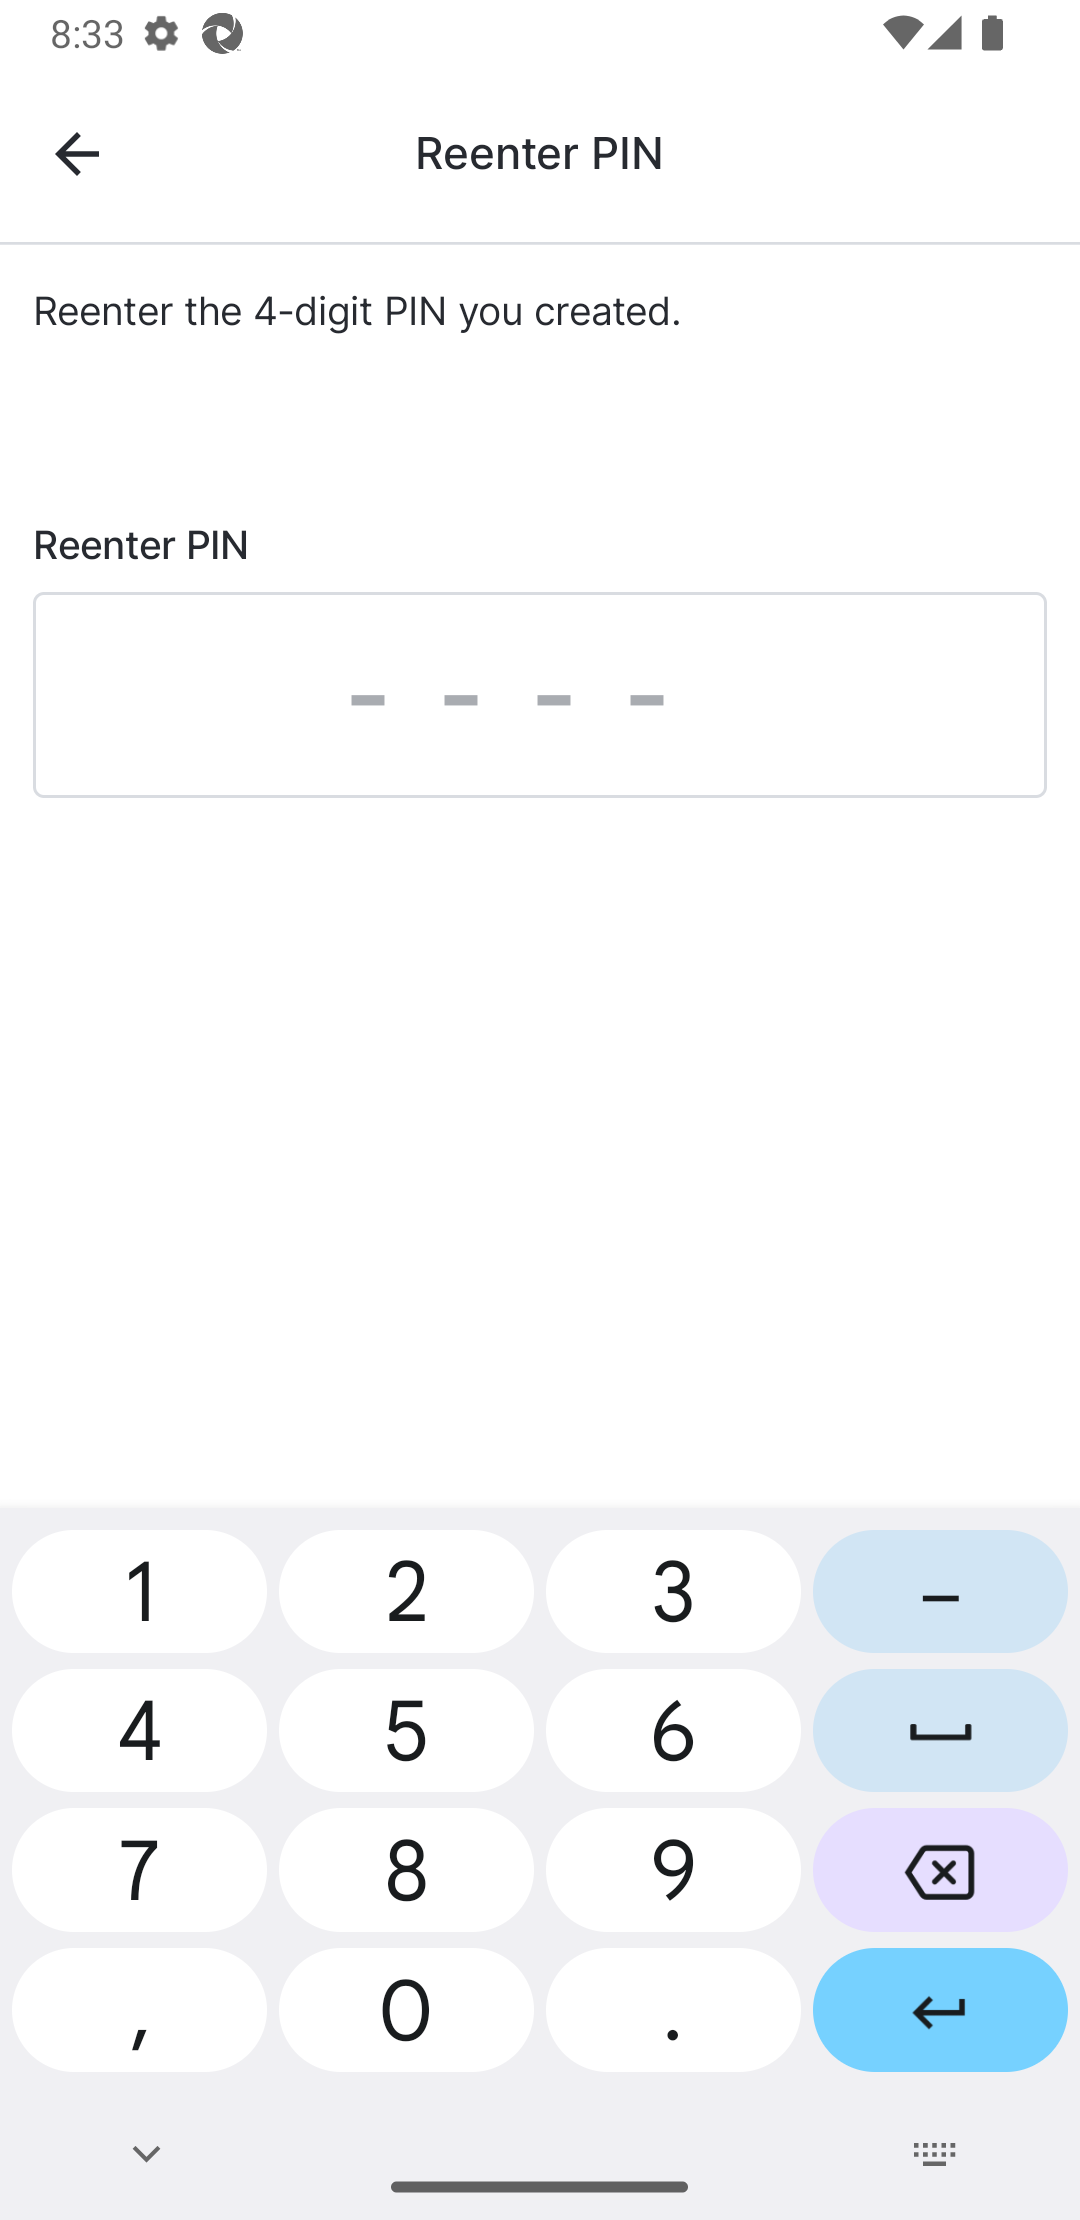
| 16 | Reenter your PIN. Registration is complete, and you are logged in to MyVeeva for Patients. |
|