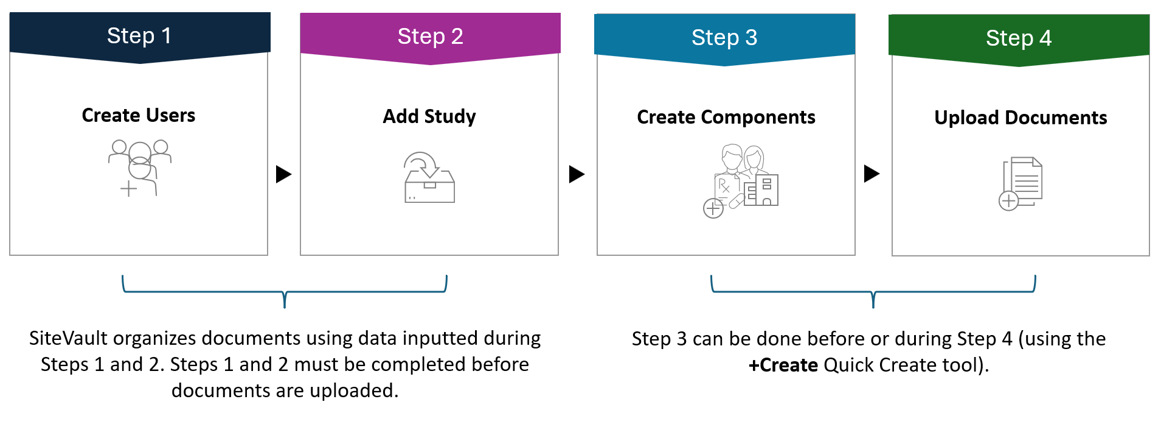
When you’re ready to add a study, follow the recommendations below for the most efficient study creation. For a full walk-through of creating a study, see the Study Set-Up Guide

1. Create Users
An Administrator can create accounts for the site staff by following the Create Staff instructions in the SiteVault Administration help tab.
2. Create a Study
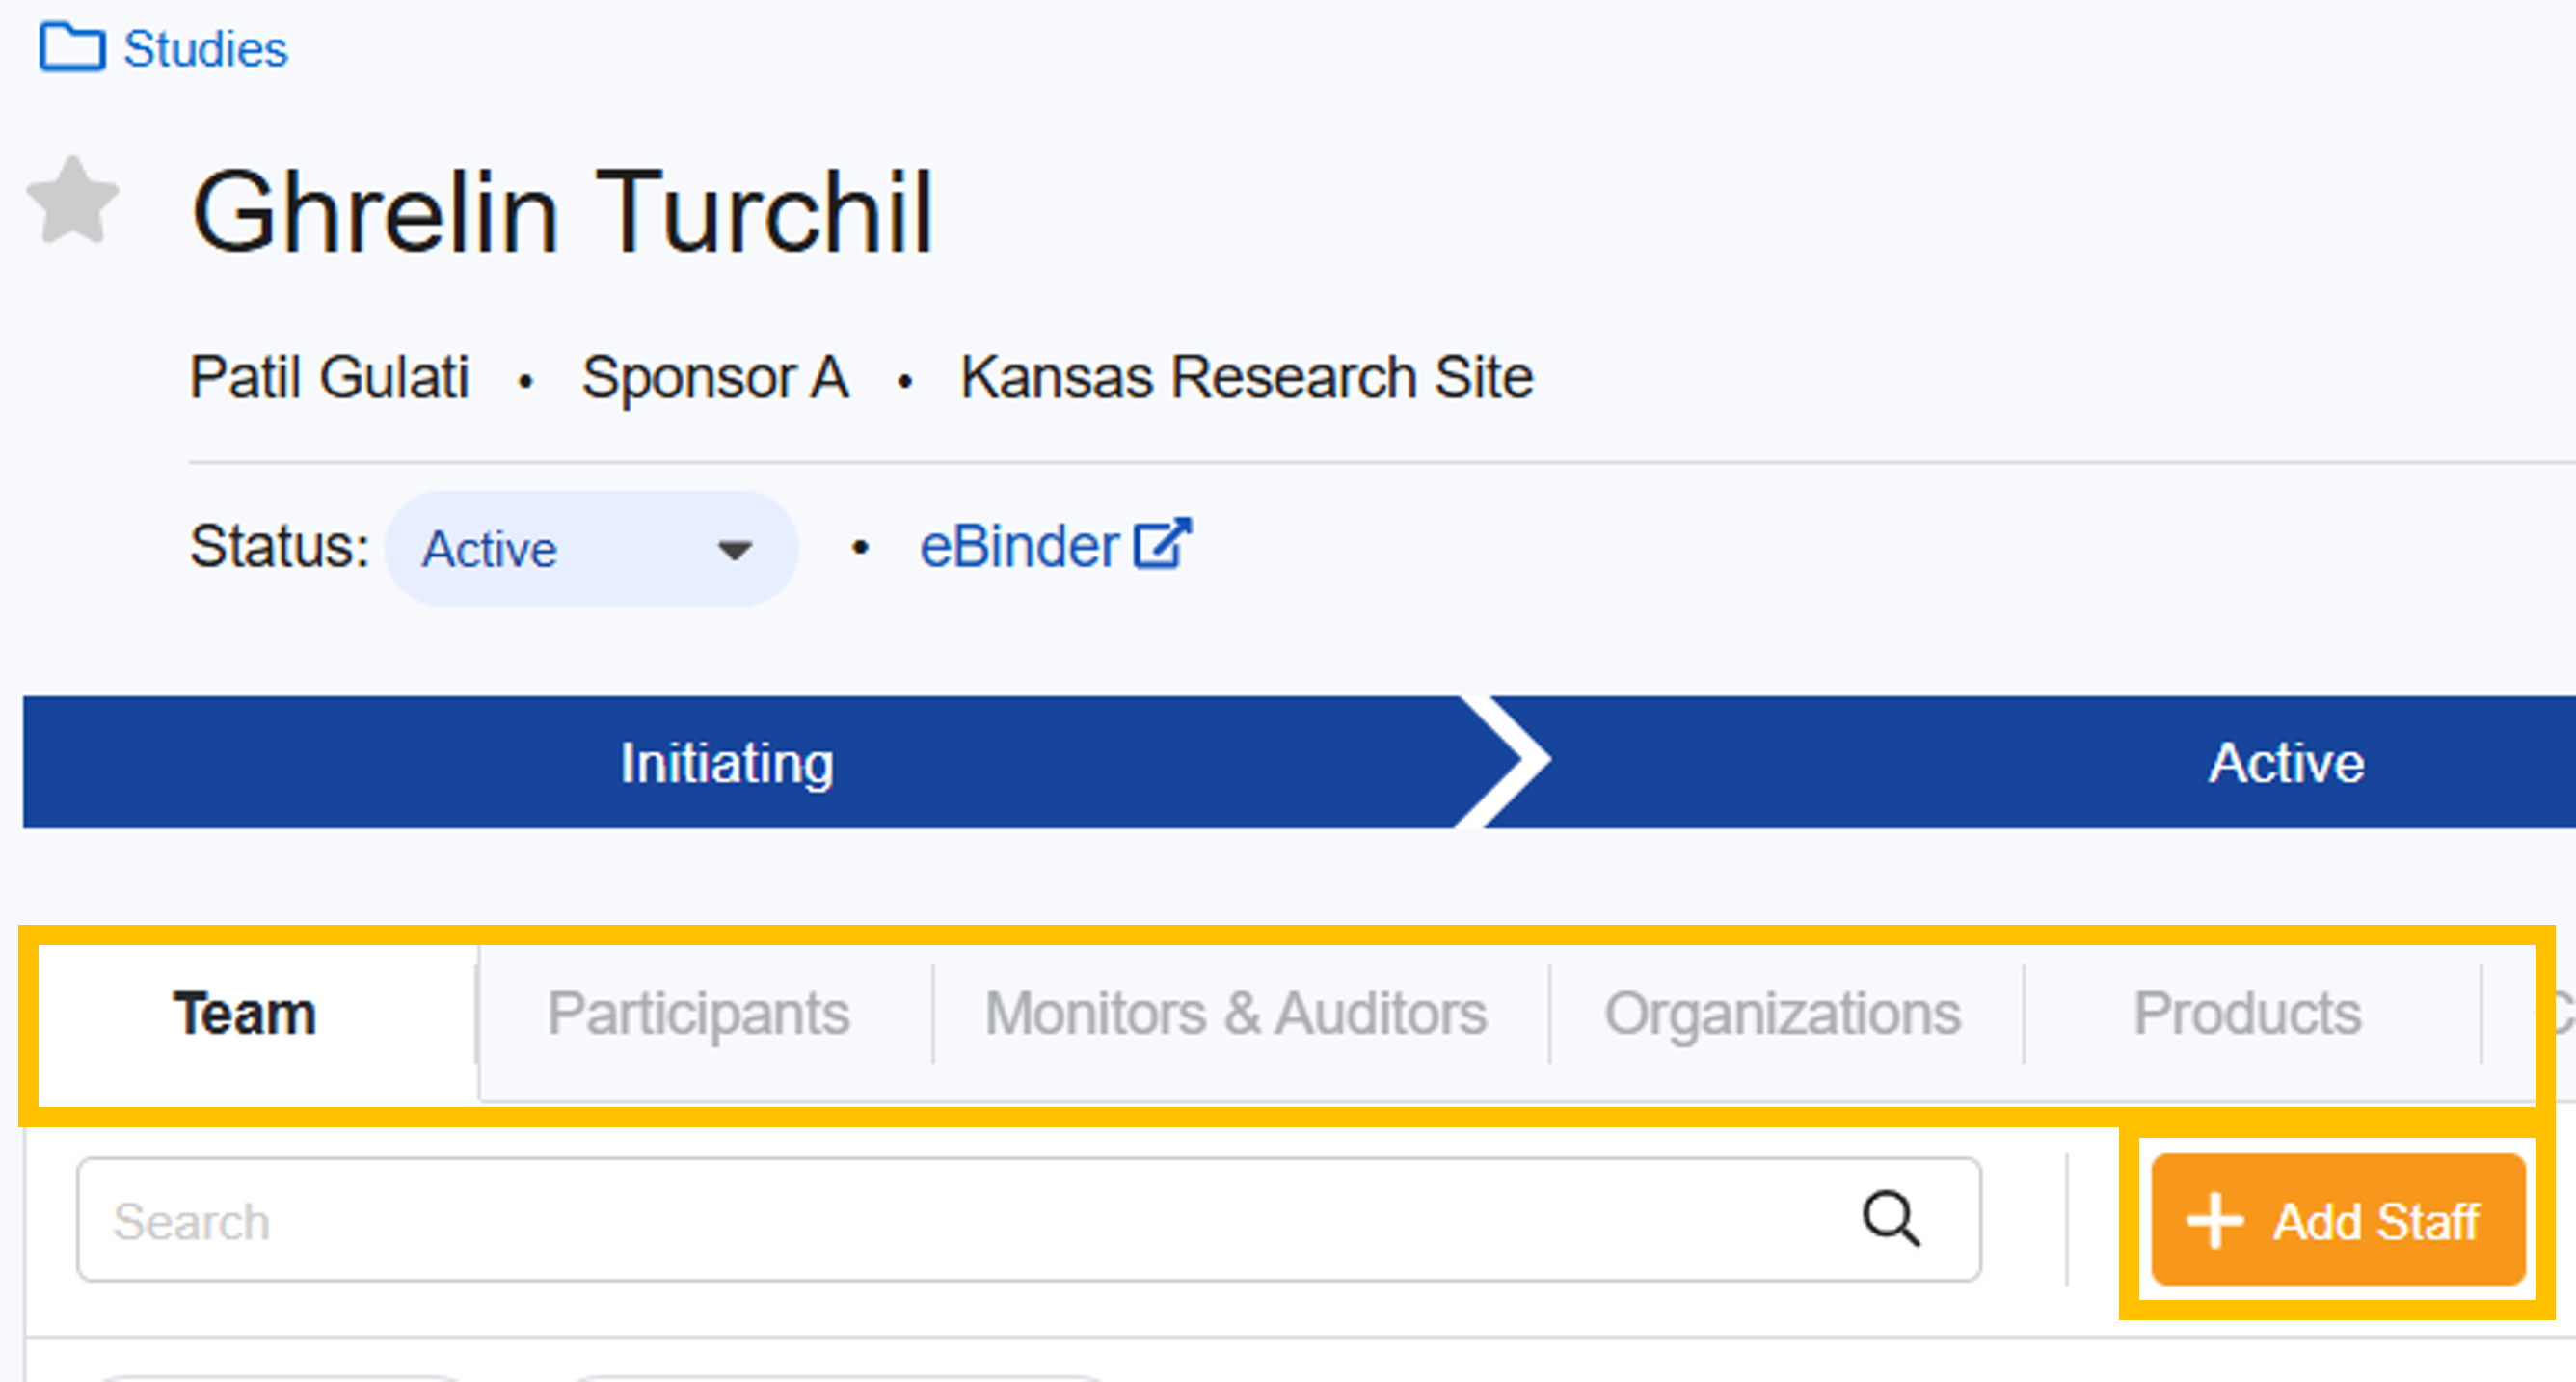
An administrator can create a study by following the Create a Study steps in the Studies help tab OR by using the +Create Quick Create tool in the Study eBinder Study Selector (see image below).

3. Create Study Components
Studies include records of study components such as the study team, products, and organizations. To upload certain document types, system fields must be completed with study component information that already exists in SiteVault and is associated with the study. For example, to upload a CV, you must complete a field to associate the CV with an individual. You may not have all of this information at the beginning of the study, but it will be helpful to enter all that you can.

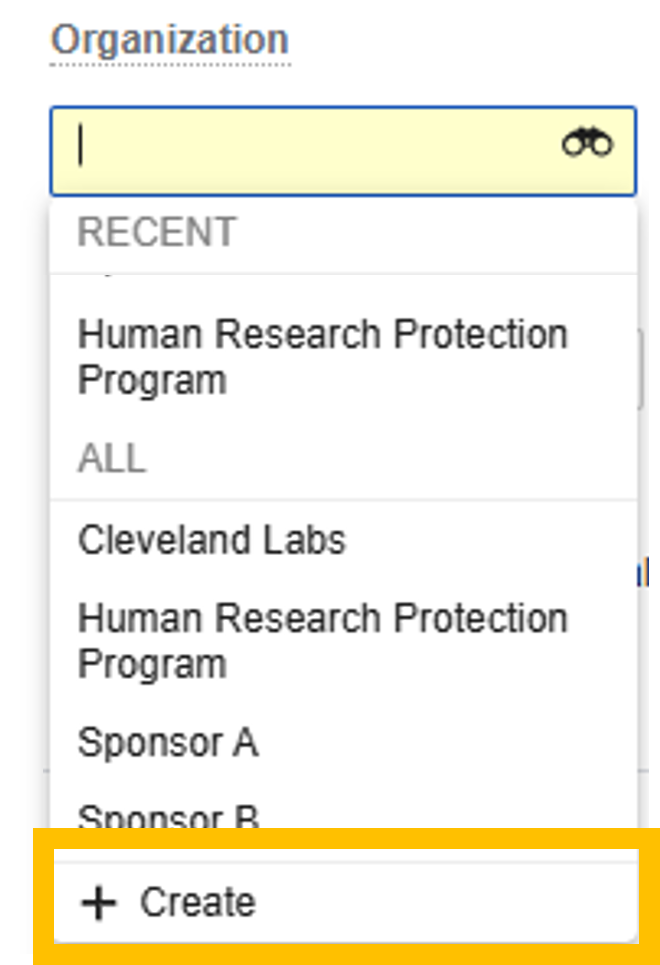
Administrators maintain lists of component records that are not study-specific (Administration tab); the components in these lists can be associated with one or more studies. Certain component records can be created during document upload by using the Quick Create tools. Simply select + Create in the component field dropdown menu.

Learn more about study components in the Studies help tab.
4. Upload Documents
You’re ready to upload! See Upload Documents to the Study eBinder.